Assembling the 52011 Harley Style Kids Electric Mini Motorcycle Scooter
The thrill of riding a motorcycle is no longer reserved for adults. The introduction of kid-friendly electric mini motorcycles, such as the 52011 Harley style model, has brought this excitement to a younger audience. Designed for children, this electric scooter combines style, safety, and fun, making it an appealing option for young adventurers. In this article, we will guide you through the assembly process of the 52011 Harley style kids electric mini motorcycle scooter, ensuring a safe and enjoyable ride for your child.
Unboxing and Initial Inspection
When you receive your 52011 Harley style mini motorcycle, the first step is to unbox it carefully. Lay out all parts on a clean surface and take a moment to inspect each component. The package should include
- The main body of the scooter - Handlebars - Wheels (typically two) - A battery and charger - A user manual - Assembly tools (if applicable)
Make sure that none of the parts are damaged and that you have everything listed in the manual. If you notice any missing or broken components, contact the retailer for replacements.
Step-by-Step Assembly Instructions
1. Attaching the Handlebars Begin by aligning the handlebars with the designated slots on the front of the motorcycle. Most designs feature a straightforward locking mechanism. Secure the handlebars using the provided screws and tools. Ensure that the handlebars are securely attached and can rotate smoothly.
52011 harley style kids electric mini motorcycle scooter assembly
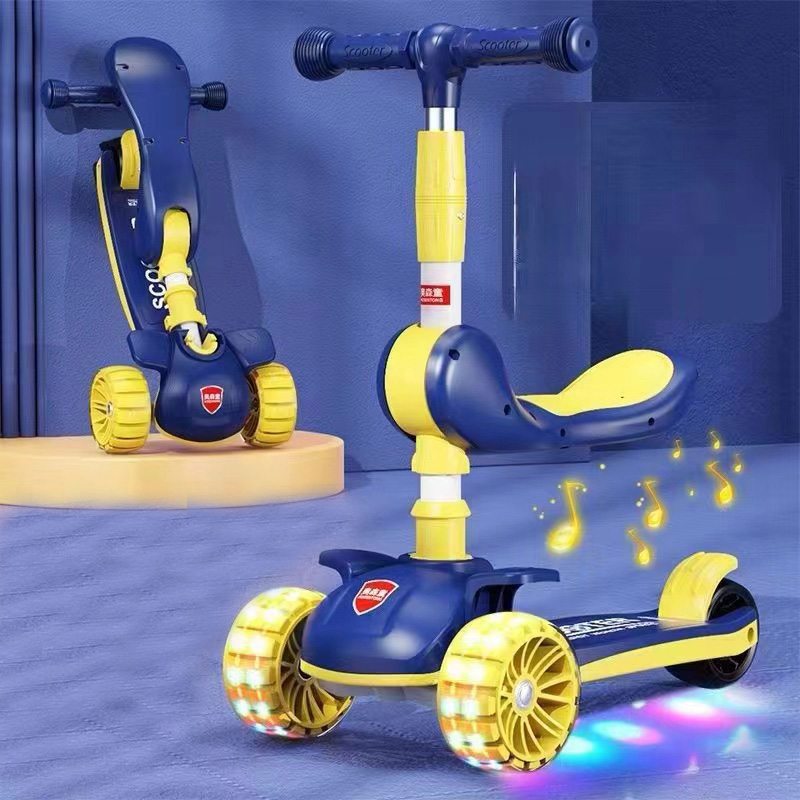
2. Installing the Front and Rear Wheels Next, it’s time to install the wheels. Depending on the scooter’s design, you may need to insert the axle through the wheel and align it with the mounting points on the scooter frame. Tighten the nuts securely to ensure stability when your child rides. Don’t forget to install any safety covers that come with the wheels.
3. Connecting the Battery With the frame and wheels assembled, turn your attention to the electric components. Locate the battery compartment, often situated beneath the seat or at the rear of the motorcycle. Connect the battery cables to their respective terminals, ensuring that you match the positive and negative connections correctly.
4. Final Assembly Checks Once the main components are in place, go over the assembly to ensure everything is tightly fastened. Check the brakes, throttle, and any other mechanisms to make sure they function properly. It's crucial to ensure that the motorcycle is in top condition before allowing any child to ride it.
5. Charging the Battery Before your child hops on for a ride, charge the battery fully. Follow the guidelines provided in the manual for proper charging times. A fully charged battery will not only provide a longer ride but also ensures better performance.
Safety First
Before your child takes their first ride on the 52011 Harley style mini motorcycle, it’s essential to discuss safety. Equip them with appropriate safety gear, including a helmet, knee pads, and elbow pads. Ensure they understand the basic rules of riding, such as keeping a safe distance from other riders and staying within safe and designated riding areas.
Conclusion
Assembling the 52011 Harley style kids electric mini motorcycle scooter can be a fun and rewarding project for both parents and children. Through careful assembly and safety precautions, you can help foster a sense of independence and adventure in your child. After the assembly and proper safety checks, it’s time to let them enjoy the ride. Witnessing your child gleefully riding their stylish mini motorcycle will undoubtedly be a cherished moment for you both. Happy riding!
-

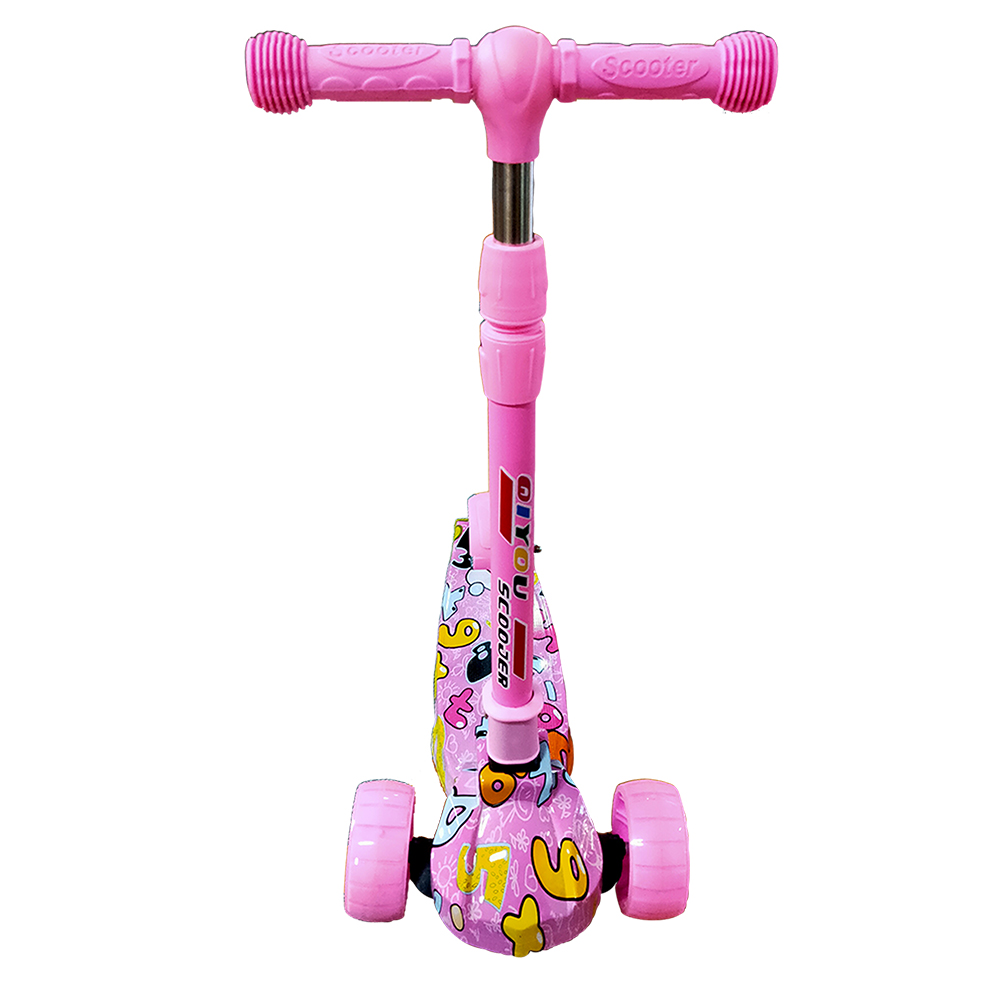 Scoot&RideKids Child Kick Push Scooter 3 Wheels with LED Flashing Tilt Lean Boys Girls Scooter


- 4
$33.17 -

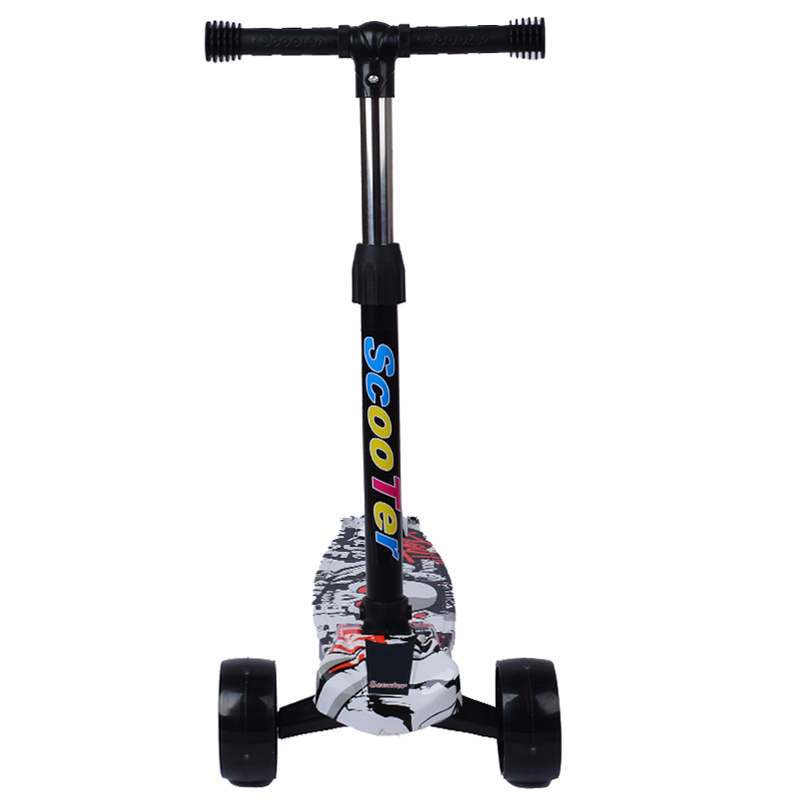 Scoot&RideKids Scooter Child Kick Flashing LED Light Up 3 Wheel Push Adjustable Folding 3
- 0
$25.52 -

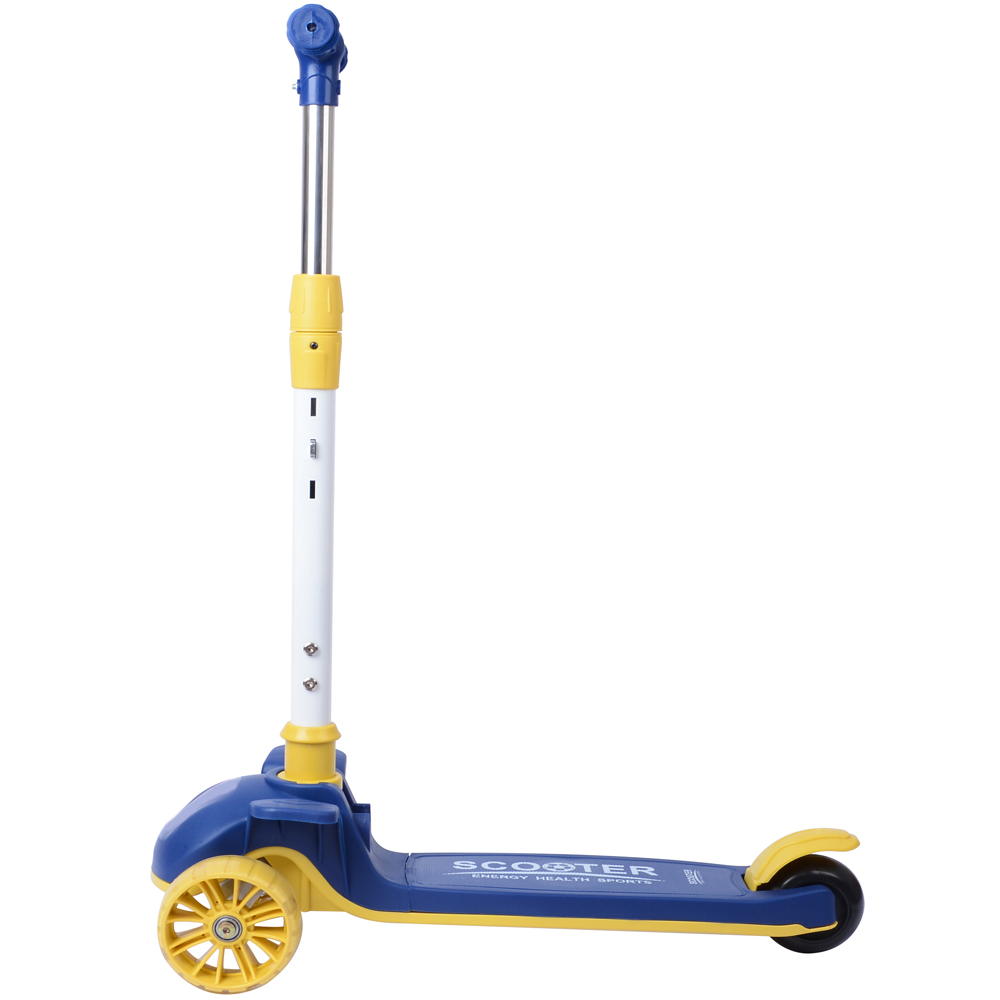 Scoot&RideKids Scooter Child Kick Flashing LED Light Up 3 Wheel Push Adjustable Folding 2
- 0
$33.17 -

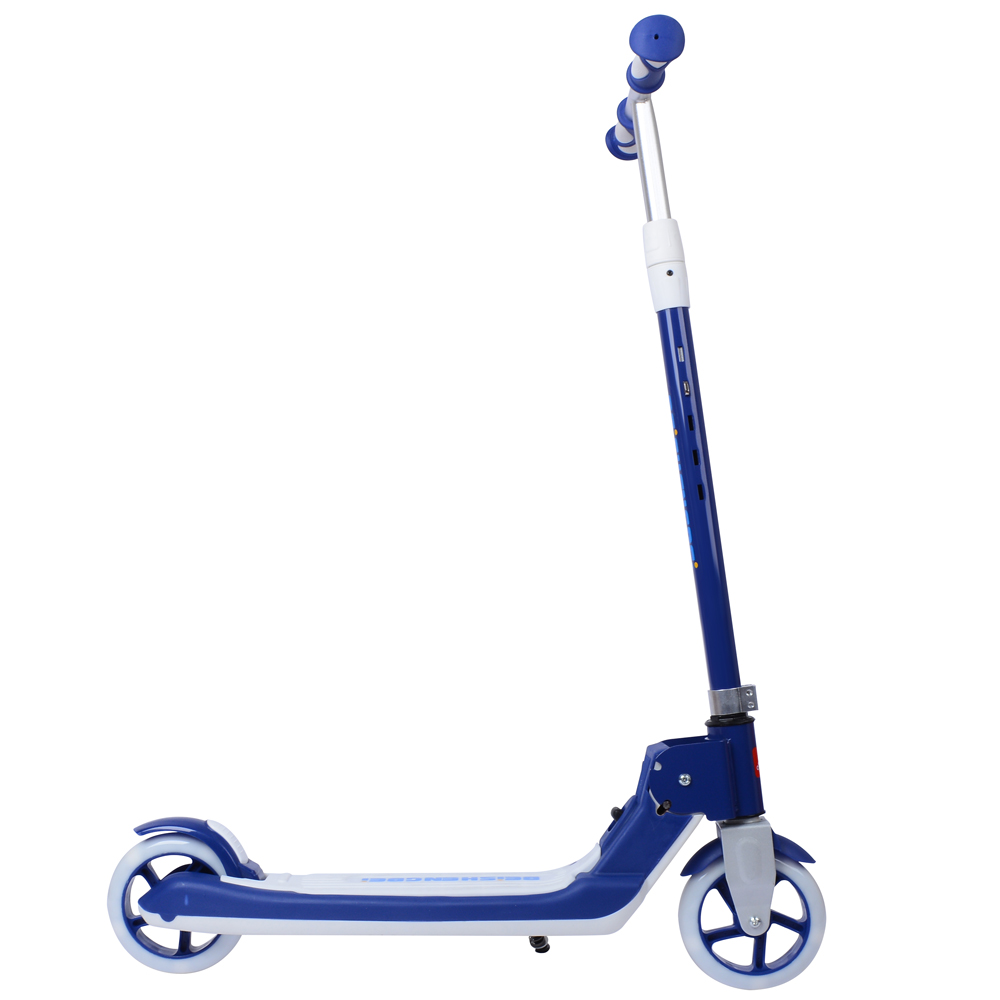 Scoot&RideKids Scooter Teens Foldable Kick Push Scooter Adjustable Height Safe 2 Wheels


- 4
$49.99
Meet our partners and discover what powers their creativity!
When you register for a Lohas scooter, you will receive a 10% discount on your first order and can be notified of sales, new product launches and other offers in advance.


