How to Take Apart a Kid’s Spiderman Scooter
Taking apart a kid’s Spiderman scooter may seem like a daunting task, but it can be a straightforward process if you follow the right steps. Whether you need to perform maintenance, replace parts, or simply store it away for the winter, disassembling the scooter is essential. Below you'll find a detailed guide on how to disassemble the scooter safely and efficiently.
Tools Needed
Before you get started, gather the necessary tools. You’ll typically need
- A Phillips screwdriver - A flathead screwdriver - An Allen wrench (if applicable) - Pliers - A work surface or mat
Having these tools handy will make the disassembly process smoother and more organized.
Step 1 Prepare the Scooter
Start by ensuring that the scooter is on a flat, stable surface. This will prevent it from tipping over while you work. Clear the area of any distractions and make sure you have enough space to lay out the parts as you disassemble them.
Step 2 Remove the Handlebar
Most scooters have a handlebar that can be detached. Look for a bolt or screw holding the handlebar in place. Using the appropriate screwdriver or Allen wrench, remove the screw. Be sure to hold the handlebar to prevent it from falling once the screw is removed. Set the handlebar aside in a safe location.
Step 3 Detach the Deck
how to take apart kids spiderman scooter
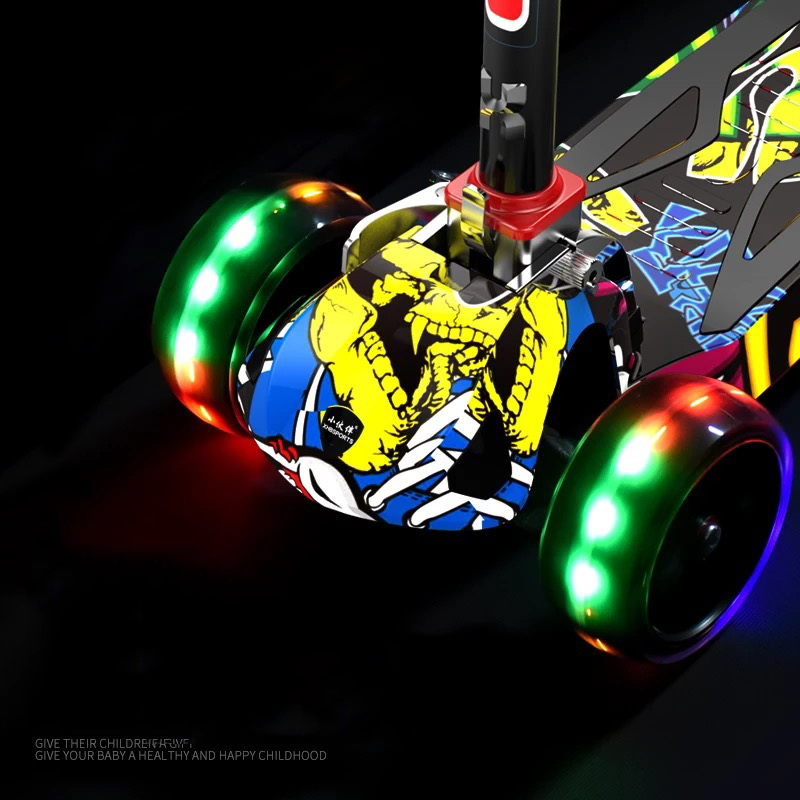
Next, you’ll want to take off the deck, which is the flat part that the rider stands on. There are usually screws or bolts securing the deck to the scooter's frame. Use your screwdriver to remove these screws carefully. Once all screws are removed, gently lift the deck off the scooter frame. Be cautious of any cables or attachments that may still be connected.
Step 4 Remove the Wheels
The wheels are typically mounted on the ends of the scooter’s frame. Look for nuts or bolts holding the wheels in place. Using your pliers or the correct wrench, unscrew the nuts or bolts and remove the wheels one at a time. It’s best to keep the hardware associated with each wheel together to ensure easy reassembly later.
Step 5 Disassemble Additional Components
Depending on the design of your Spiderman scooter, there may be additional components such as brake levers, footrests, or safety guards. Refer to the scooter’s manual if available for guidance on removing these parts. Usually, they will be secured with screws or clips. Carefully disengage these components and keep them organized.
Step 6 Organize and Store the Parts
As you take apart the scooter, it’s essential to keep all the screws, bolts, and small parts organized. Consider using small containers or zip-lock bags to separate the parts. Labeling each container can also be helpful if you plan to reassemble the scooter later.
Step 7 Clean and Inspect
Now that the scooter is disassembled, take the opportunity to clean each part. Wipe down the deck, wheels, and frame to remove any dirt or grime. Inspect all components for wear and tear. This is a good time to identify any parts that may need replacement before reassembly.
Final Thoughts
Disassembling your child’s Spiderman scooter can be a rewarding experience when approached methodically. By following these steps, you can ensure that you handle each part carefully, making maintenance or storage a breeze. Always consult the manufacturer’s instructions if available for specific guidance, and remember to keep safety in mind during the process. With patience and organization, you’ll have the scooter taken apart in no time!
-

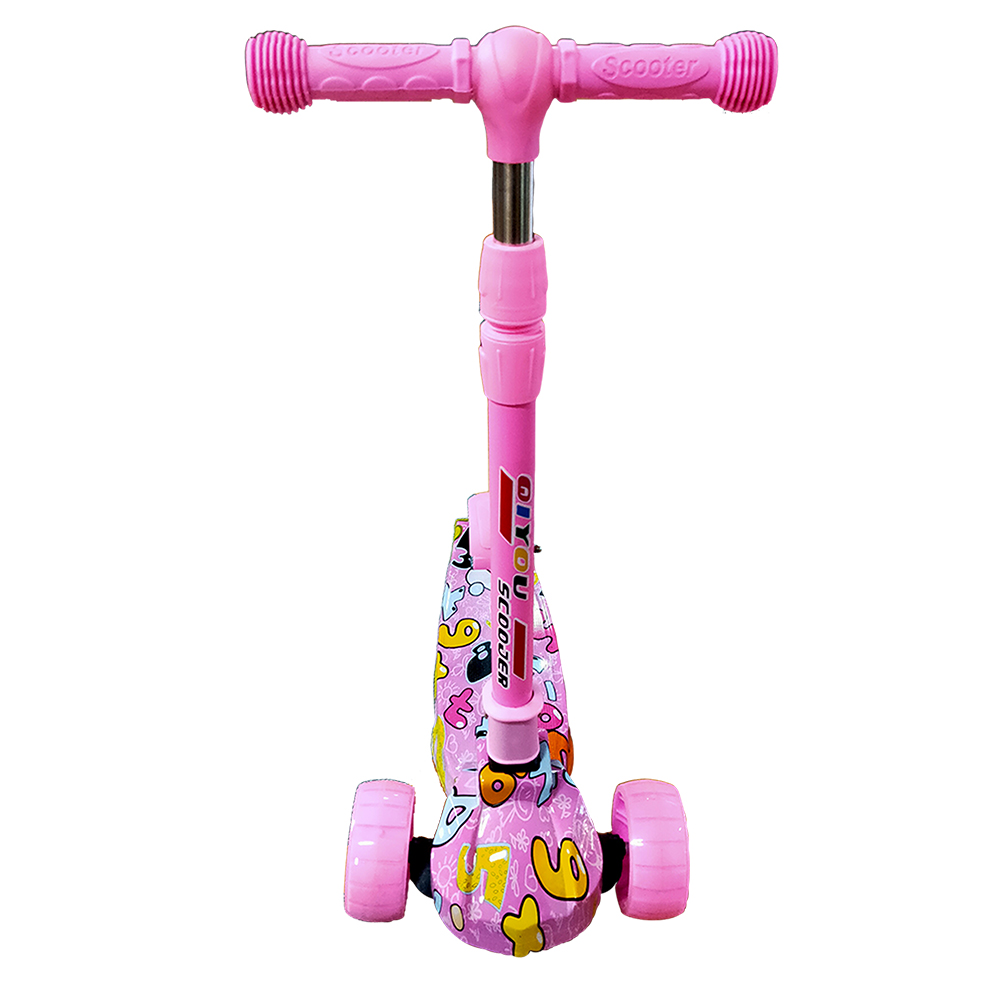 Scoot&RideKids Child Kick Push Scooter 3 Wheels with LED Flashing Tilt Lean Boys Girls Scooter


- 4
$33.17 -

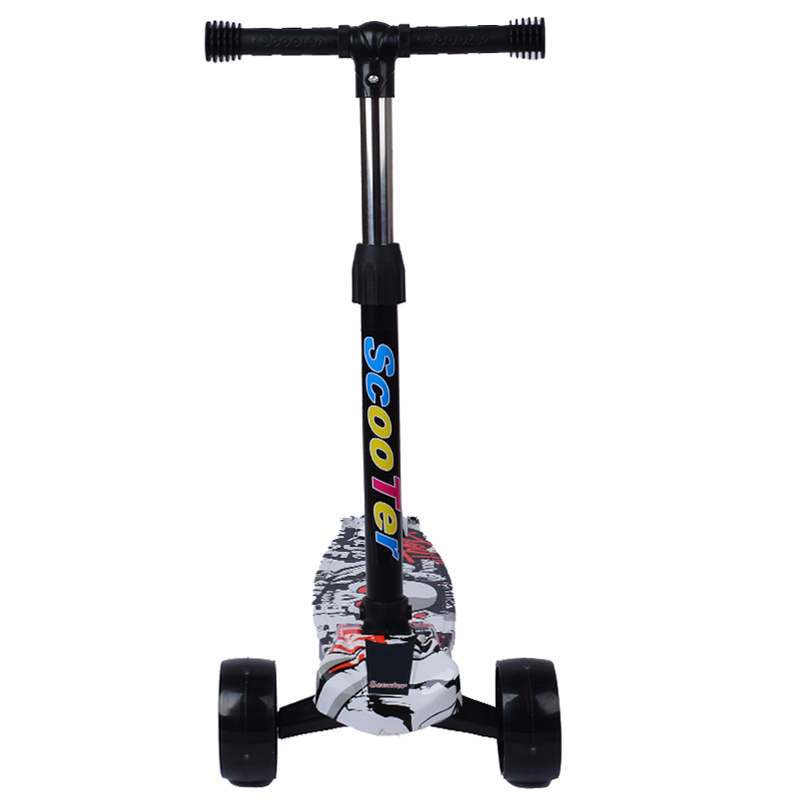 Scoot&RideKids Scooter Child Kick Flashing LED Light Up 3 Wheel Push Adjustable Folding 3
- 0
$25.52 -

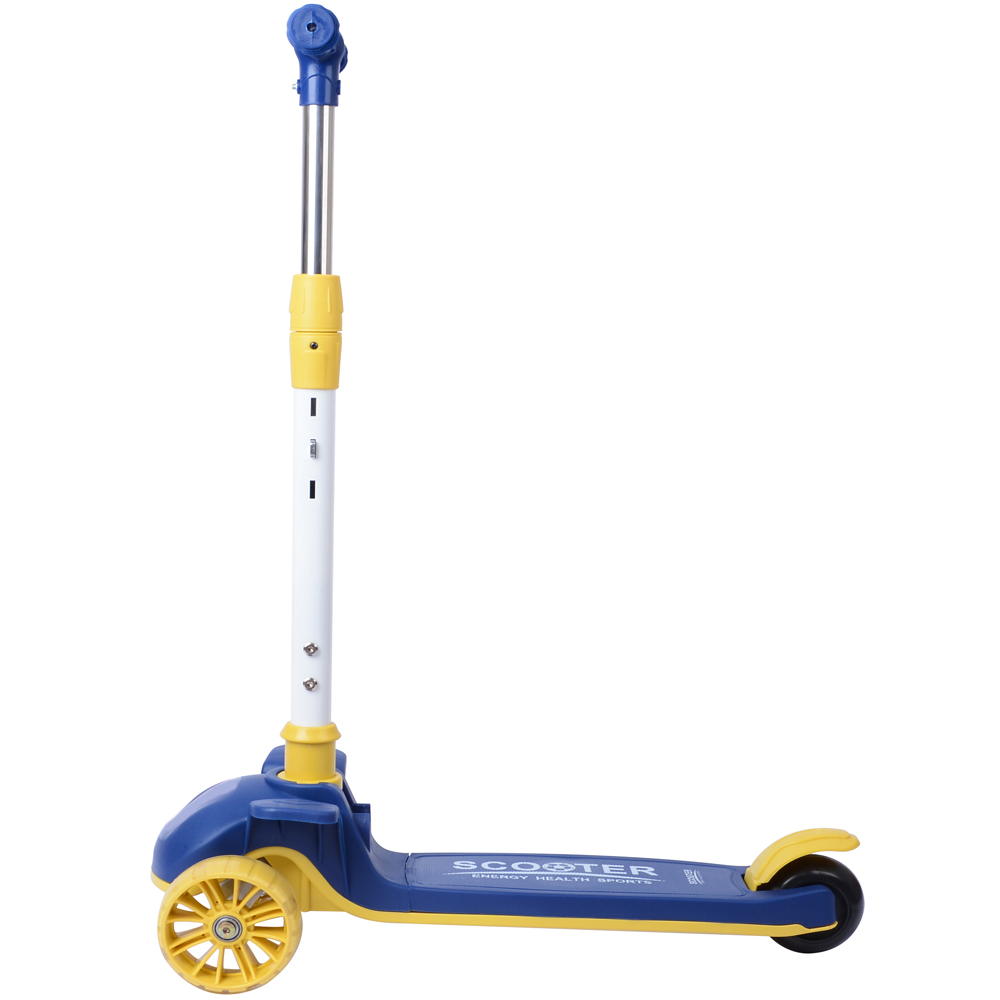 Scoot&RideKids Scooter Child Kick Flashing LED Light Up 3 Wheel Push Adjustable Folding 2
- 0
$33.17 -

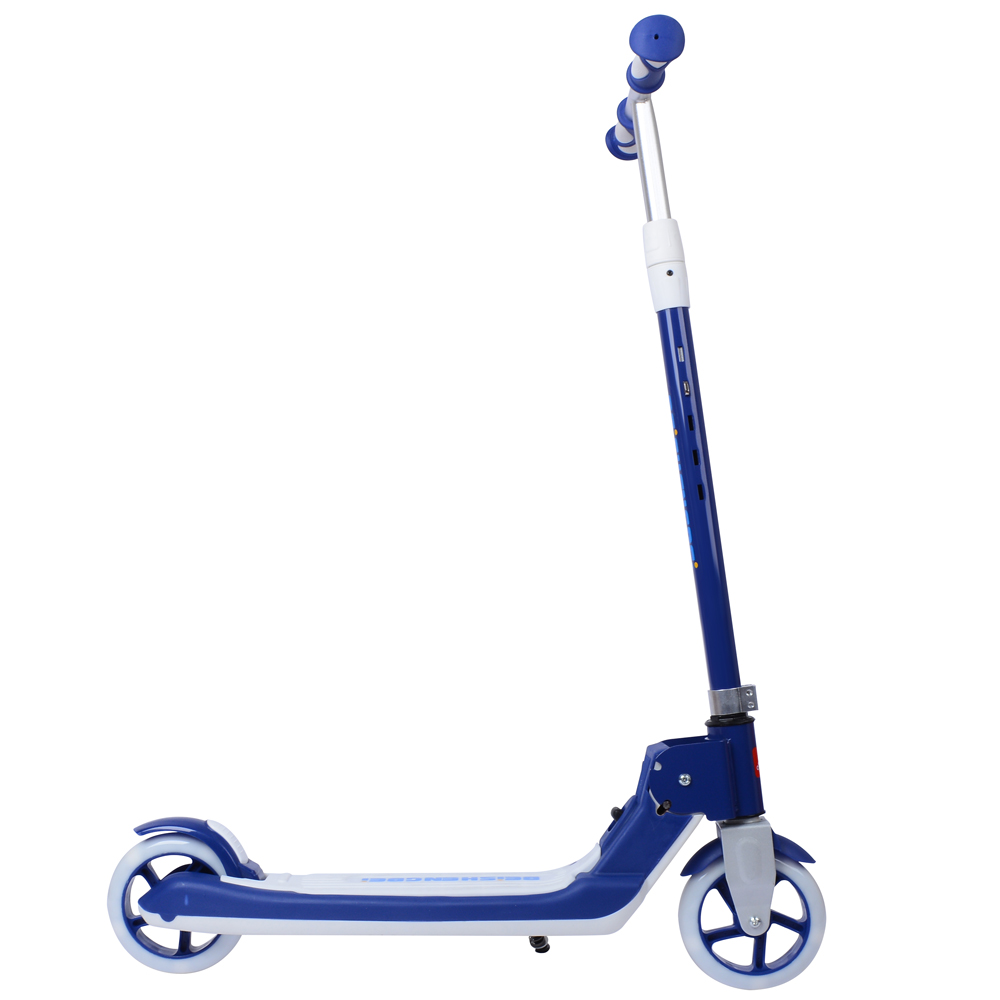 Scoot&RideKids Scooter Teens Foldable Kick Push Scooter Adjustable Height Safe 2 Wheels


- 4
$49.99
Meet our partners and discover what powers their creativity!
When you register for a Lohas scooter, you will receive a 10% discount on your first order and can be notified of sales, new product launches and other offers in advance.


