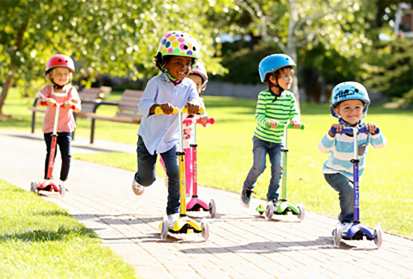
How to Make Your Own One-Board Scooter for Kids
Building a one-board scooter for kids can be a fun and engaging project. Not only does it provide a creative outlet, but it also gives children a sense of ownership over their ride, making it all the more enjoyable. In this guide, we’ll walk through the steps to create a simple one-board scooter that is safe, durable, and ready for hours of fun.
Materials Needed
Before you begin building, gather the following materials
1. Plywood or Composite Board A piece of plywood about 3 feet long and 1 foot wide will work as the deck. 2. Scooter Wheels Four wheels from an old skateboard or new ones purchased from a hardware store. 3. Axles Metal rods or dowels to attach the wheels. 4. Handlebar You can use a metal or sturdy PVC pipe for the handle. 5. Grip Tape For traction on the deck. 6. Wood Screws To secure the wheels and handlebar. 7. Paint or Stain Optional, for decorative purposes. 8. Safety Gear Helmet, knee pads, and elbow pads for safety.
Step-by-Step Instructions
Step 1 Create the Deck
Start by cutting the plywood into your desired shape. A rectangular or slightly curved shape works best for balance. Once cut, sand the edges to smooth them out, preventing splinters. Optionally, you can paint or stain the deck to give it a vibrant look, allowing your child to personalize their scooter.
Step 2 Attach the Wheels
Next, determine where to place the wheels. For stability, place two wheels near the back and two near the front. Mark the spots where you will attach them. Drill holes large enough for your axles to fit through. Once the holes are ready, insert the axles and secure the wheels to the deck with wood screws. Ensure that the wheels can spin freely, adjusting the screws if necessary.
lehuo how to make your own one board scooter for kids

Step 3 Install the Handlebar
For the handlebars, cut the pipe to a suitable height for your child. The top of the handlebar should ideally come up to their waist. Drill a hole in the front of the deck and insert the handlebar. Secure it tightly with screws or brackets to ensure it can handle the weight and movement.
Step 4 Add Grip Tape
To provide a non-slip surface for your child’s feet, apply grip tape on the top of the deck. Cut the tape to fit the area you want to cover, peel off the backing, and firmly press it down, ensuring there are no air bubbles. This added traction can help prevent slips while riding.
Step 5 Safety Checks
Before allowing your child to ride the scooter, conduct thorough safety checks. Ensure that all screws are tight, and the wheels are securely fastened. Inspect the handlebar to make sure it can withstand pressure. It’s wise to test the scooter yourself by giving it a little push to see how it holds up before letting any kids take a turn.
Step 6 Gear Up for Safety
Remind your child about the importance of safety gear. A helmet, knee pads, and elbow pads can significantly reduce the risk of injury. Encourage them to wear these items every time they ride, especially when they’re still learning.
Conclusion
Building a one-board scooter for your child can be a rewarding project that fosters creativity and provides a sense of independence. With a bit of effort and some basic materials, you can create a functional skateboard that children will love. Always keep safety in mind, ensuring that the scooter is well-built and that your child knows to wear protective gear. Now, let the fun begin—your child will have a blast riding their new scooter around the neighborhood!
-

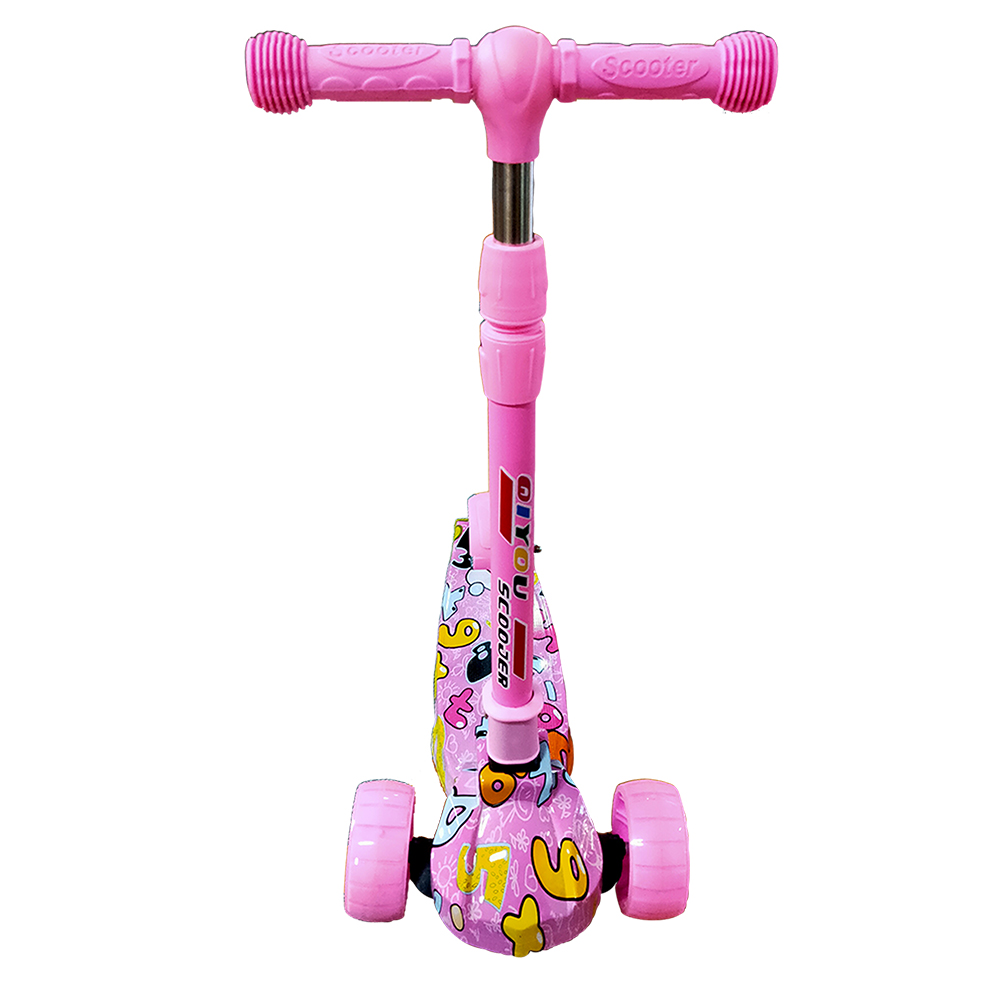 Scoot&RideKids Child Kick Push Scooter 3 Wheels with LED Flashing Tilt Lean Boys Girls Scooter


- 4
$33.17 -

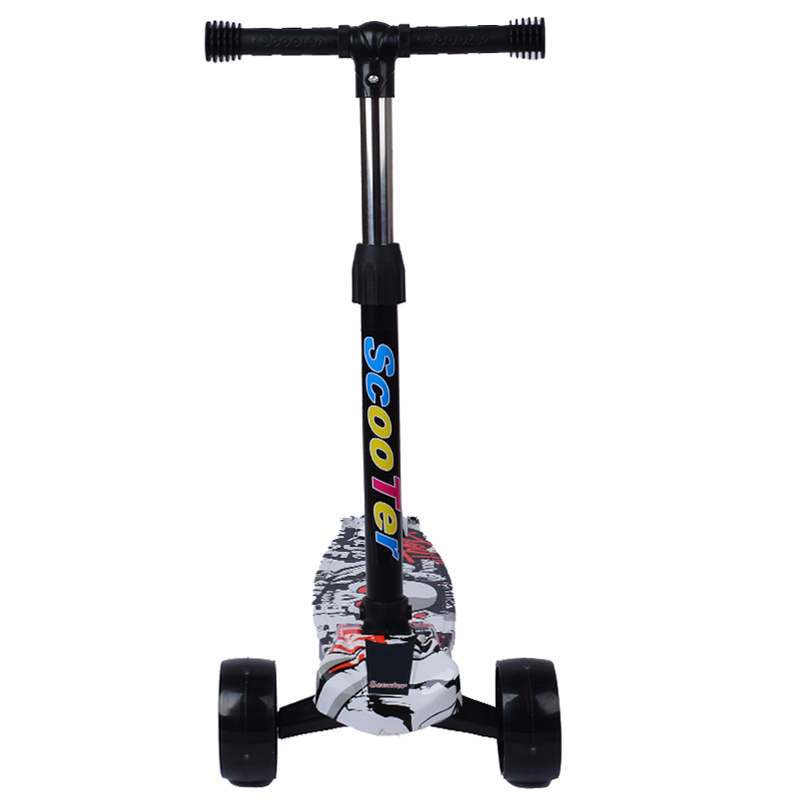 Scoot&RideKids Scooter Child Kick Flashing LED Light Up 3 Wheel Push Adjustable Folding 3
- 0
$25.52 -

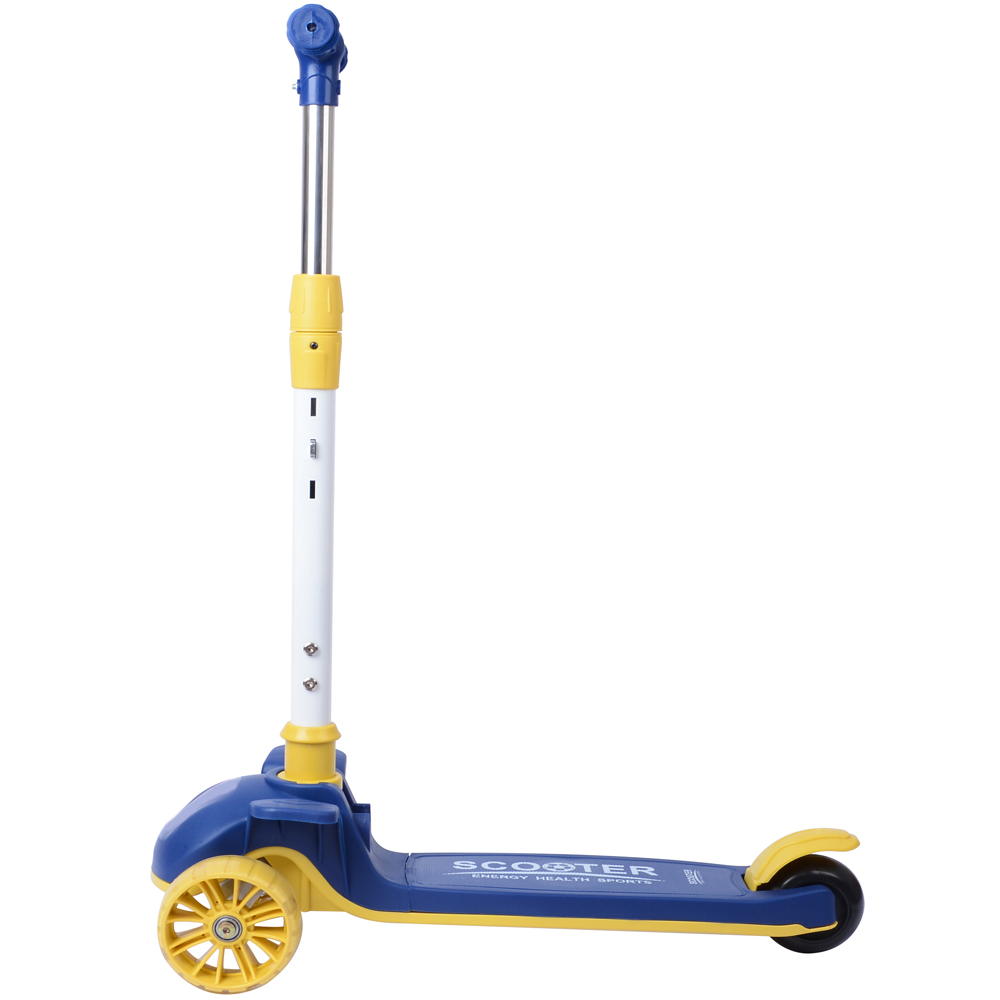 Scoot&RideKids Scooter Child Kick Flashing LED Light Up 3 Wheel Push Adjustable Folding 2
- 0
$33.17 -

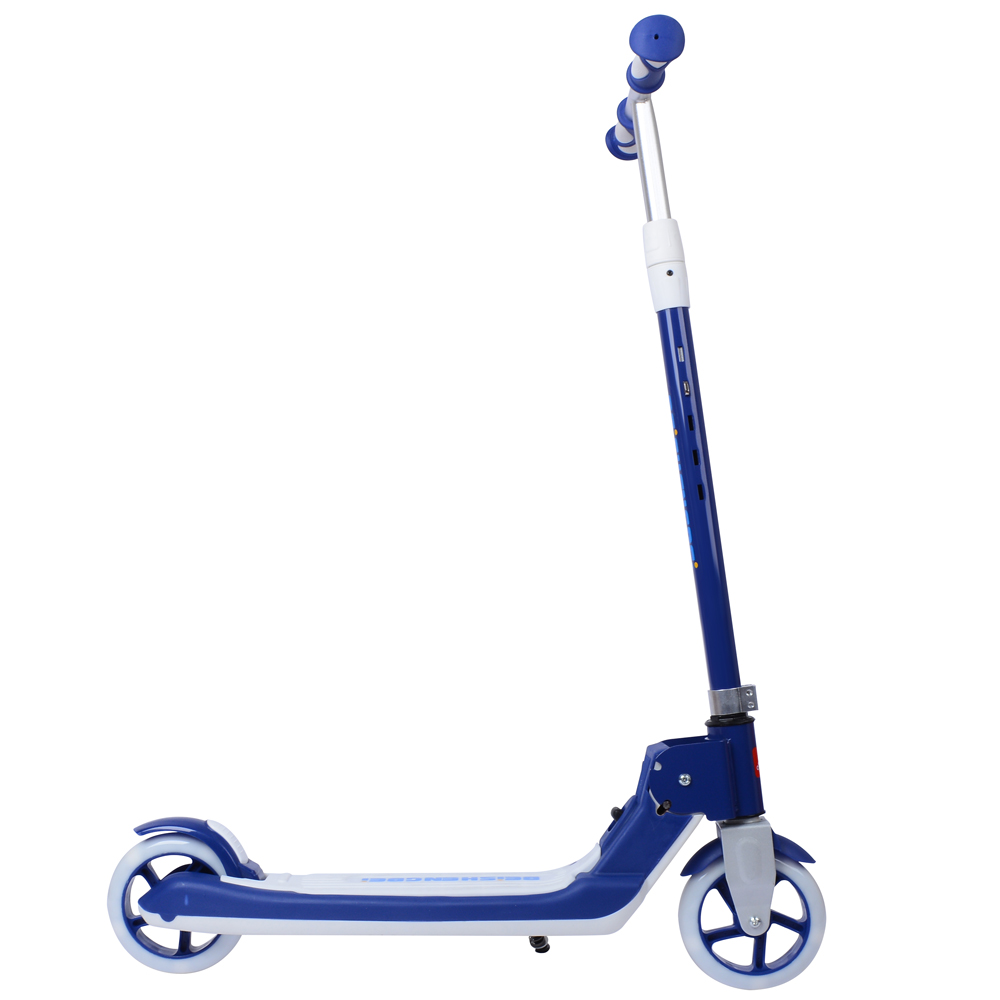 Scoot&RideKids Scooter Teens Foldable Kick Push Scooter Adjustable Height Safe 2 Wheels


- 4
$49.99
Meet our partners and discover what powers their creativity!
When you register for a Lohas scooter, you will receive a 10% discount on your first order and can be notified of sales, new product launches and other offers in advance.


