Assembling the Gotrax Kids Scooter A Step-by-Step Guide
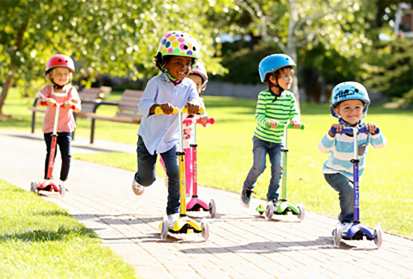
The thrill of a new scooter is undeniable, especially for kids eager to ride and explore their surroundings. Among the popular choices available today is the Gotrax kids scooter, known for its sturdy design and vibrant colors. However, the first step to riding is assembly. This guide will walk you through the process, ensuring your child can start their adventure safely and effectively.
Step 1 Unbox the Scooter
Start by carefully unboxing your Gotrax scooter. Lay out all components in a spacious area. Check for the main parts the scooter deck, handlebars, front wheel, rear wheel, and any tools or instructions included in the box. Ensure nothing is missing by consulting the assembly manual.
Step 2 Preparing the Handlebars
Once you've verified that you have all components, the next step is to prepare the handlebars. Begin by identifying the handlebar section of the scooter. You will notice a tightening mechanism at the base of the handlebars. Take the handlebars and align them with the designated slot on the scooter deck. It’s essential to make sure everything fits snugly.
Step 3 Inserting the Handlebars
After ensuring proper alignment, insert the handlebars into the designated opening on the deck. You may need to push firmly but gently to secure it in place. It’s crucial that the handlebars are inserted straight to avoid wobbling while riding. Once inserted, refer to the manual for the tightening mechanism's operation to ensure stability.
Step 4 Attaching the Front Wheel
Next, turn your attention to the front wheel. Locate the axle and wheel components. The wheel should come with a rod and two washers. Slide the rod through the wheel and into the designated opening on the front of the scooter deck. It may require some wrist strength, but it should slide through smoothly when aligned correctly.
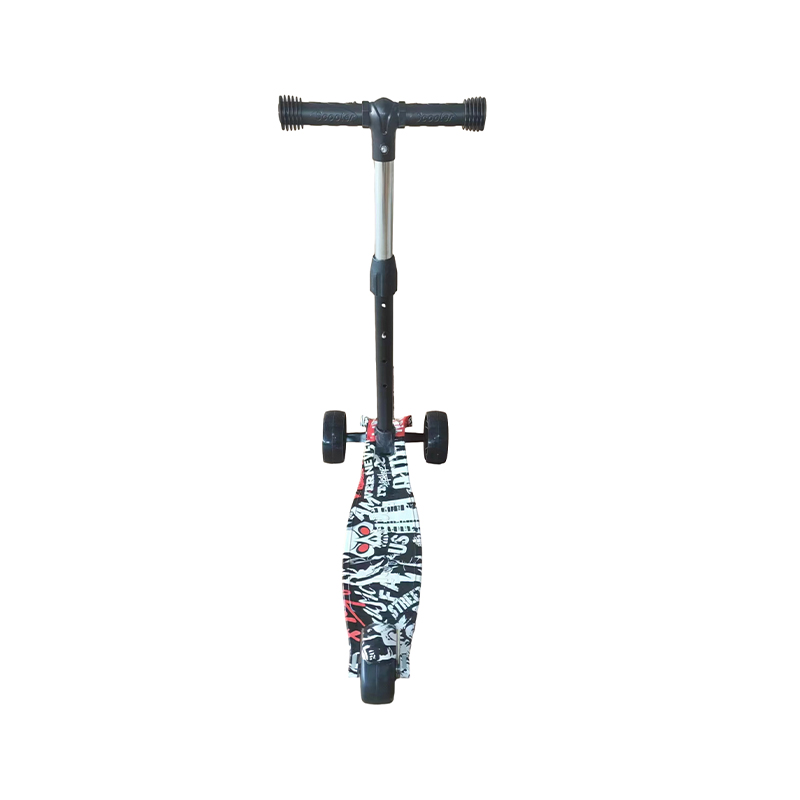
gotrax kids scooter assembly
Step 5 Securing the Front Wheel
Once the wheel is in place, you will need to secure it. Use the included tools to tighten the nuts on either side of the axle. This ensures that the wheel doesn't come loose while riding, which is crucial for your child’s safety. Test the wheel’s movement to ensure it spins freely without wobbling.
Step 6 Attaching the Rear Wheel
The rear wheel assembly is similarly straightforward. Repeat the process of inserting the wheel onto the axle. Ensure that the wheel is aligned correctly with the deck before securing it with the nuts. This rear wheel also plays a vital role in stability, so ensure it is tightly fastened.
Step 7 Final Checks
After all the components are attached, it's time for a final inspection. Check that the handlebars are firmly secured and that both wheels can spin freely without obstruction. Lift the scooter slightly to ensure it feels balanced. If anything seems loose or misaligned, adjust it accordingly.
Step 8 Testing the Scooter
Before handing the scooter over to your child, it’s advisable to take it for a test spin yourself. This will help you identify any potential issues with assembly. Ensure that you engage the brake to confirm it functions properly and allows you to stop safely.
Conclusion
Assembling the Gotrax kids scooter can be a fun and straightforward process when done step by step. By following this guide, you ensure that your child starts their riding experience on a well-assembled scooter, promoting both safety and enjoyment. Now, with the scooter ready, it's time for your little one to hit the pavement and enjoy the thrill of riding. Always remind them to wear a helmet and protective gear for a safe adventure!

-

 Scoot&RideKids Child Kick Push Scooter 3 Wheels with LED Flashing Tilt Lean Boys Girls Scooter
- 4
$33.17 -
 Scoot&RideKids Scooter Child Kick Flashing LED Light Up 3 Wheel Push Adjustable Folding 3
- 0
$25.52 -
 Scoot&RideKids Scooter Child Kick Flashing LED Light Up 3 Wheel Push Adjustable Folding 2
- 0
$33.17 -
 Scoot&RideKids Scooter Teens Foldable Kick Push Scooter Adjustable Height Safe 2 Wheels
- 4
$49.99
Meet our partners and discover what powers their creativity!
When you register for a Lohas scooter, you will receive a 10% discount on your first order and can be notified of sales, new product launches and other offers in advance.