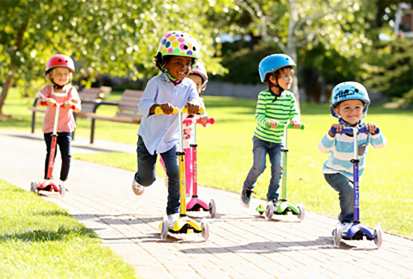
Scooter Assembly for Kids A Step-by-Step Guide
Scooters have become one of the most popular modes of transport for kids around the world. Not only are they a great way to have fun outdoors, but they also promote balance, coordination, and physical activity. If you’ve just bought a scooter for your child or are planning to, understanding how to assemble it properly is crucial for safety and performance. In this article, we will guide you through the assembly process, ensuring that your child's scooter is ready for action in no time.
Understanding the Parts
Before diving into assembly, it's important to familiarize yourself with the main components of a typical scooter. Most kids' scooters come with the following parts
- Deck This is where your child will place their feet. - Handlebar The steering part of the scooter that your child holds onto. - Fork This connects the handlebar to the deck and allows for steering. - Wheels Most scooters have either two or three wheels. Ensure that they are of good quality for a smooth ride. - Brake A crucial safety feature located at the back of the scooter allowing your child to slow down or stop. - Handlebar grips These provide comfort and prevent slipping.
Step-by-Step Assembly Instructions
Step 1 Gather Your Tools
Before you start, check if you need any tools for the assembly. Most kids' scooters come with the necessary tools included, such as Allen wrenches or screwdrivers. If not, you may need a Phillips screwdriver or a wrench to complete the assembly.
Step 2 Prepare the Workspace
Find a flat, spacious area to work on your scooter assembly. A clean garage floor or a large table is ideal. Make sure you have all the parts laid out so that everything is in easy reach.
Step 3 Attach the Handlebar
Start by attaching the handlebar to the fork. Most scooters will have specific slots or pins that the handlebar will fit into. Align it carefully, insert it, and secure it in place. Ensure that it’s tightly fitted, as a loose handlebar can lead to accidents while riding.
scooter for kids assembly

Step 4 Secure with Bolts or Screws
Next, you’ll want to secure the handlebar using the provided bolts or screws. Depending on the model of the scooter, you'll either use an Allen wrench or a screwdriver. Tighten them sufficiently but avoid over-tightening, which could strip the screws or strip the threads.
Step 5 Attach the Brake
If the brake isn't already installed, you may need to attach it to the back wheel. Most brakes will simply clip onto the frame above the rear wheel. Make sure it moves freely and is aligned properly. Once again, use the appropriate screws to secure it if necessary.
Step 6 Check the Wheels
Inspect the wheels to ensure they are attached correctly. Most scooters will come with pre-installed wheels, but if you need to attach them, simply slide them onto the axle and secure them with a locking nut. Spin the wheels to ensure they rotate smoothly without obstruction.
Step 7 Add Handlebar Grips
If your scooter's grips are not already in place, install them now. Typically, you can slide them on either end of the handlebar. Make sure they are snug and won't slide off while your child is riding.
Step 8 Perform a Safety Check
Once you have completed the assembly, perform a thorough safety check. Ensure all screws are tight, the wheels spin freely, and the brakes are functioning correctly. Test the stability of the entire scooter to ensure it can support your child's weight.
Conclusion Ready to Ride!
Congratulations! You have successfully assembled your child’s scooter. Spend some time educating your child about safety while riding. Always wear a helmet and pads, and encourage them to ride in safe areas away from traffic. With their new scooter ready for adventure, your child can enjoy endless fun and exercise while developing their skills. Happy scooting!
-

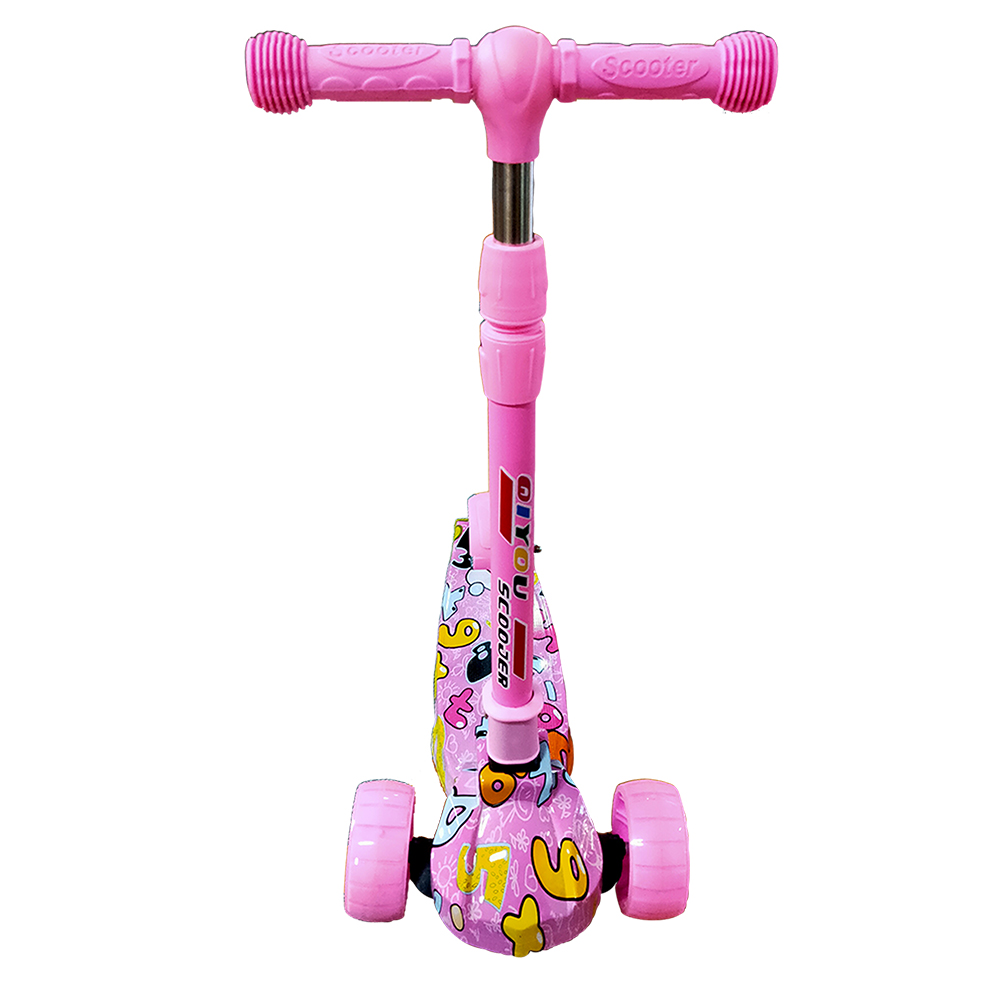 Scoot&RideKids Child Kick Push Scooter 3 Wheels with LED Flashing Tilt Lean Boys Girls Scooter


- 4
$33.17 -

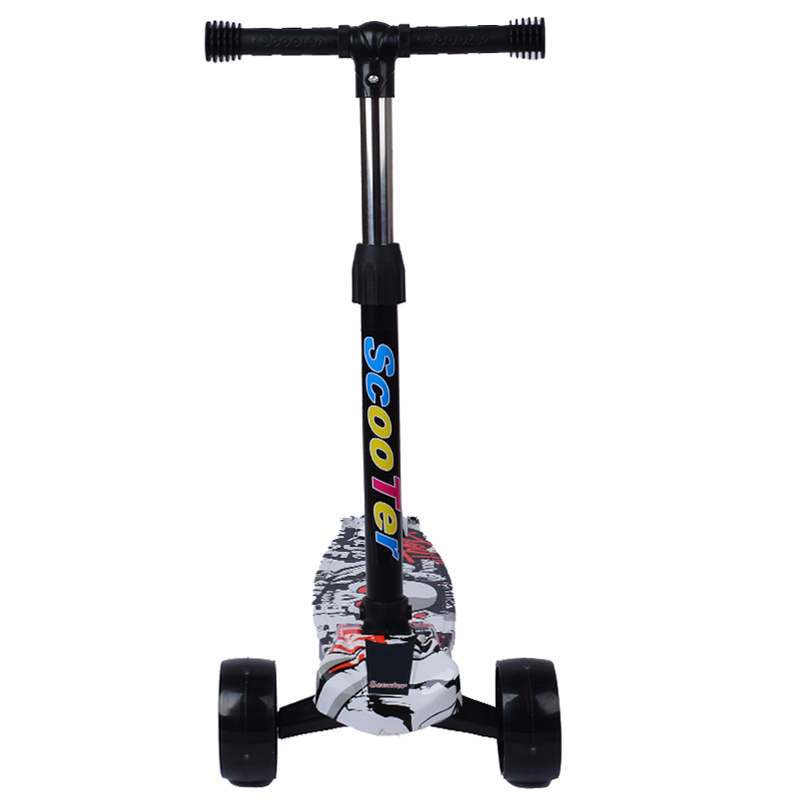 Scoot&RideKids Scooter Child Kick Flashing LED Light Up 3 Wheel Push Adjustable Folding 3
- 0
$25.52 -

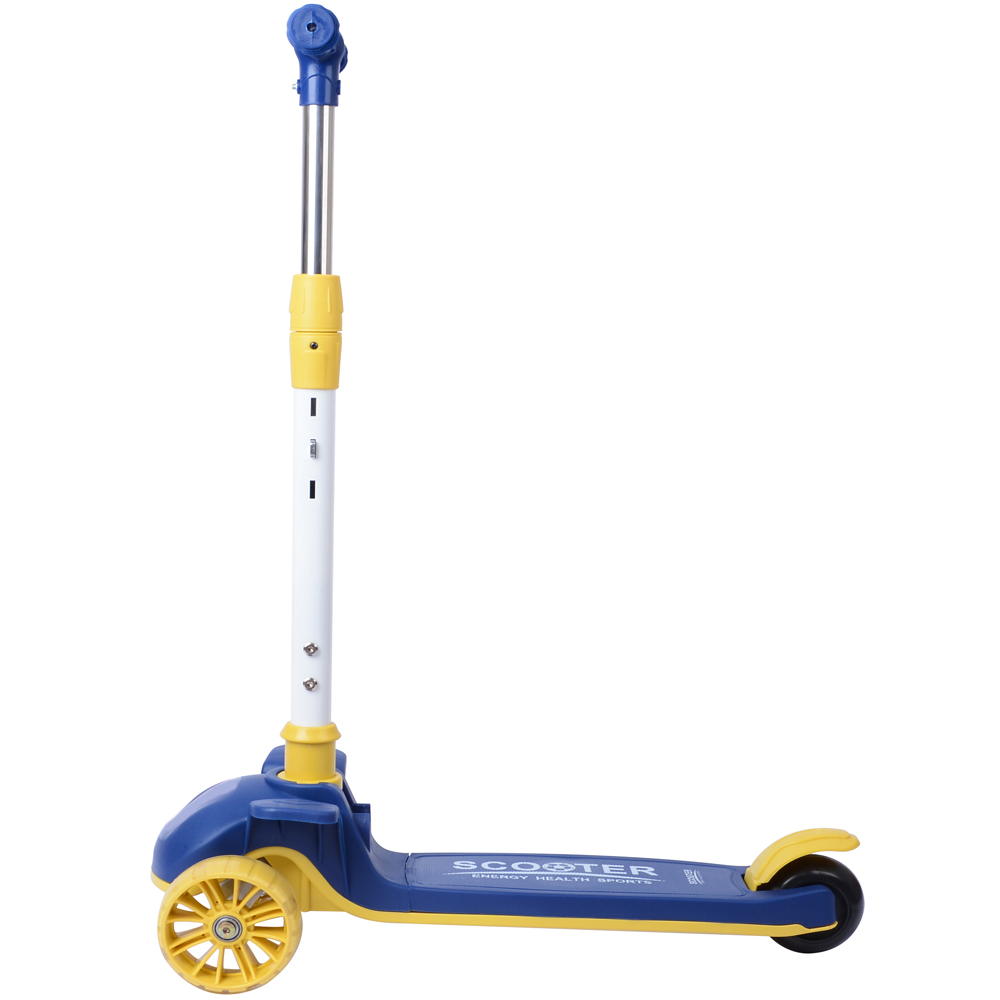 Scoot&RideKids Scooter Child Kick Flashing LED Light Up 3 Wheel Push Adjustable Folding 2
- 0
$33.17 -

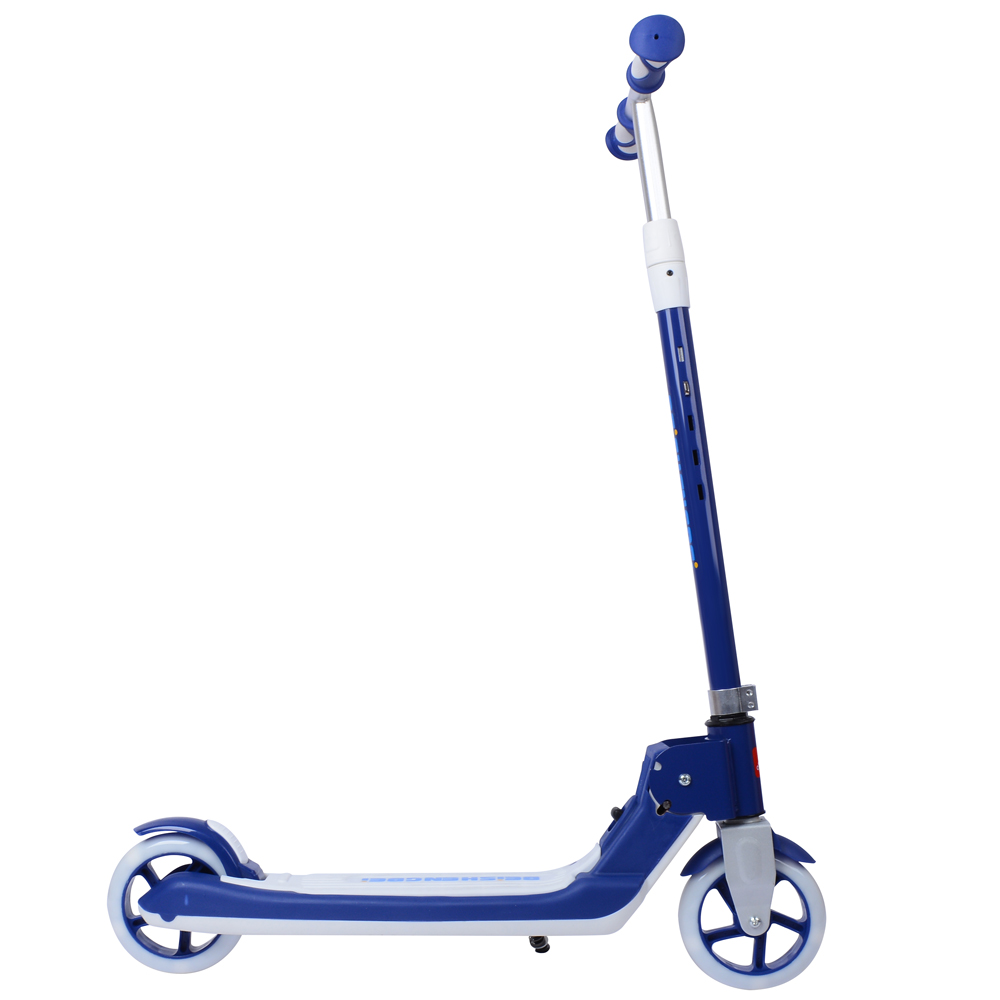 Scoot&RideKids Scooter Teens Foldable Kick Push Scooter Adjustable Height Safe 2 Wheels


- 4
$49.99
Meet our partners and discover what powers their creativity!
When you register for a Lohas scooter, you will receive a 10% discount on your first order and can be notified of sales, new product launches and other offers in advance.


