Assembling the Halo JR Scooter A Step-by-Step Guide
The Halo JR Scooter is an excellent choice for young riders seeking adventure, fun, and a means of getting around with style. However, before your child can glide through the neighborhood, the scooter must be assembled properly. This guide provides a detailed overview of how to assemble the Halo JR Scooter efficiently and safely, ensuring your little ones can enjoy their ride in no time.
Unboxing and Organizing Parts
Before diving into the assembly, find a clean, spacious area to work in. Unbox the scooter carefully, taking note of all parts included in the package. Typically, you should find
- The scooter deck - Handlebars - Wheels (usually two) - Brake - Handlebar grips - Assembly tools (with some models) - User manual
Organize the parts to ensure you have everything needed for assembly. This will help streamline the process and reduce frustrations.
Step 1 Attaching the Handlebars
Begin by taking the handlebars and aligning them with the designated slot on the front of the scooter deck. Ensure that the handlebar clamp is positioned correctly. Insert the handlebars into the designated socket and make sure they are secure but not overly tight yet, as you may need to adjust their height later.
If your scooter model requires screws or bolts, use the provided tools to secure the handlebars. Follow the instructions in the manual for the specific torque needed.
Step 2 Installing the Wheels
Next, it is time to install the wheels. The Halo JR Scooter typically comes with two wheels, one for the front and one for the back. Ensure you can identify the front wheel, as it is often larger and designed for steering.
To attach the wheels, locate the wheel hubs on the scooter deck. Slide the wheel onto the hub, making sure it sits flush against the scooter deck. Use the axle bolt provided to secure the wheel in place. Tighten it until it is snug but avoid over-tightening, as this can hinder the wheel's ability to spin freely.
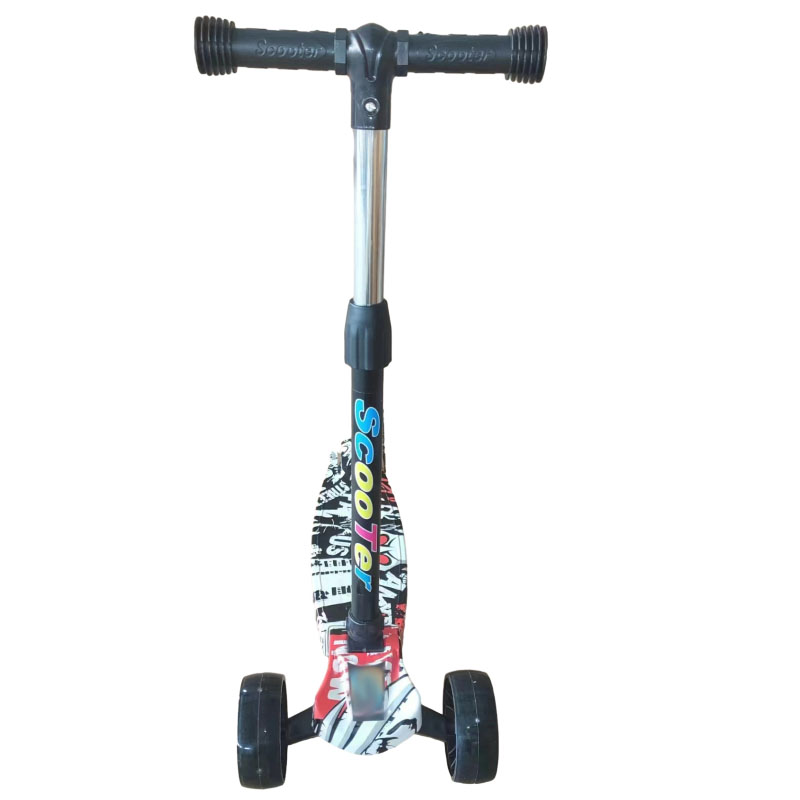
halo jr scooter assembly
Repeat this process for the second wheel. Once both wheels are attached, lift the scooter and give each wheel a spin to ensure they move smoothly.
Step 3 Installing the Brake
Safety is paramount, especially for young riders. The Halo JR Scooter is usually equipped with a rear brake to help control speed. Attach the brake by aligning it with the rear wheel. The brake plate should sit flat against the deck, and the mechanism should connect to the rear wheel.
Secure the brake using screws or bolts, making sure it firmly grips the wheel when engaged. Test the brake mechanism to ensure it operates effectively; it should engage smoothly without requiring excessive force to activate.
Step 4 Adding the Handlebar Grips
To enhance comfort and grip, it's essential to attach the handlebar grips. Slide each grip onto the ends of the handlebars. These grips should fit snugly; if they are loose, consider adding some adhesive tape for a secure fit.
Step 5 Final Adjustments and Safety Check
With all components attached, it’s time to make any necessary height adjustments to the handlebars. The handlebars should be at a level where your child can comfortably reach them without stretching or slouching. Once you’ve set the height, tighten everything securely.
Conduct a final safety check by inspecting all parts of the scooter, including
- Wheels Ensure they spin freely and are securely attached. - Brake Check that it engages effectively. - Handlebar Confirm it is stable and at the right height. - Deck Examine for any sharp edges or hazards.
Conclusion
Assembling the Halo JR Scooter is a straightforward process that can be completed in just a few steps. By following this guide, you can ensure that your child is not only safe but also excited to take their first ride. Remember, always supervise young riders and encourage them to wear helmets and protective gear for a safe experience. Happy scootering!

-

 Scoot&RideKids Child Kick Push Scooter 3 Wheels with LED Flashing Tilt Lean Boys Girls Scooter
- 4
$33.17 -
 Scoot&RideKids Scooter Child Kick Flashing LED Light Up 3 Wheel Push Adjustable Folding 3
- 0
$25.52 -
 Scoot&RideKids Scooter Child Kick Flashing LED Light Up 3 Wheel Push Adjustable Folding 2
- 0
$33.17 -
 Scoot&RideKids Scooter Teens Foldable Kick Push Scooter Adjustable Height Safe 2 Wheels
- 4
$49.99
Meet our partners and discover what powers their creativity!
When you register for a Lohas scooter, you will receive a 10% discount on your first order and can be notified of sales, new product launches and other offers in advance.