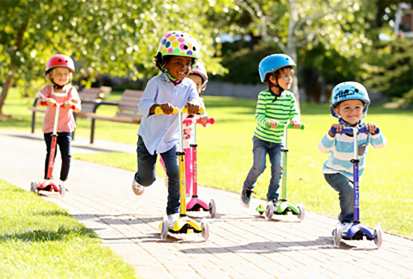
How to Take a Kid's Scooter Apart
If you've noticed that your child's scooter isn't functioning as it should or if it's just time for a thorough cleaning or maintenance, knowing how to take it apart can be quite beneficial. Taking a scooter apart may seem daunting, but with the right approach and tools, it can be a straightforward process. Here’s a step-by-step guide to help you disassemble a kid’s scooter safely and efficiently.
1. Gather Your Tools
Before you start, make sure you have the necessary tools at hand. Generally, you’ll need
- A Phillips or flathead screwdriver (depending on the screws used) - An Allen wrench (if your scooter has hex screws) - A pair of pliers - A clean cloth - A container to keep screws and small parts organized
It’s important to choose a well-lit and spacious area to disassemble the scooter. A garage, workshop, or even a large table indoors will do just fine.
2. Inspect the Scooter
Before diving in, take a moment to examine the scooter. Check for any visible damage or issues that need addressing. This will give you a better idea as to which parts you may need to focus on during disassembly.
3. Remove the Handlebars
Most scooters have adjustable handlebars. First, look for any screws or fasteners that hold the handlebars in place. Use the appropriate screwdriver or Allen wrench to carefully loosen and remove them. Once the screws are out, you should be able to lift the handlebars off. Make sure to place the screws in your container so they don’t get lost.
4. Detach the Deck
how to take a kids scooter apart
Next, you’ll want to remove the deck, which is the surface where your child stands. Look underneath the deck for screws that secure it to the frame. Typically, there are several screws that you’ll need to remove. After unscrewing them, gently lift the deck from the frame. If it feels stuck, check for any remaining screws.
5. Take Apart the Wheels
The wheels of a scooter consist of the wheel itself and the axle. To remove the wheels, start by locating the nuts that hold them in place. Use your pliers or a wrench to carefully unscrew these nuts. After the nuts are off, you should be able to slide the wheels off the axles. Keep the nuts in your container for safekeeping.
6. Disconnect the Brake
If your scooter is equipped with a brake system, it’s a good idea to take it apart as well for maintenance. Look for the mechanism that connects the brake to the scooter. This will typically involve a few screws or a pin. Remove these carefully, and the brake should come off. Again, remember to store any small parts you remove.
7. Clean and Inspect Parts
Once you have disassembled the scooter, take the opportunity to clean each part thoroughly. Use a cloth to remove dirt and grime. Check for wear and tear, especially on the wheels and brake system, to determine if any parts need replacement.
8. Reassemble the Scooter
After cleaning and inspecting, you can reassemble the scooter by reversing the disassembly steps. Always ensure that each part is securely in place and test the scooter once fully reassembled to ensure everything is functioning properly.
Conclusion
Disassembling a kid’s scooter can be a simple process if you approach it methodically. By following these steps, you’ll be able to maintain your child’s scooter effectively, ensuring a safe and enjoyable ride. Regular maintenance can extend the life of your scooter, making it a worthwhile skill to learn. Happy scootering!

-

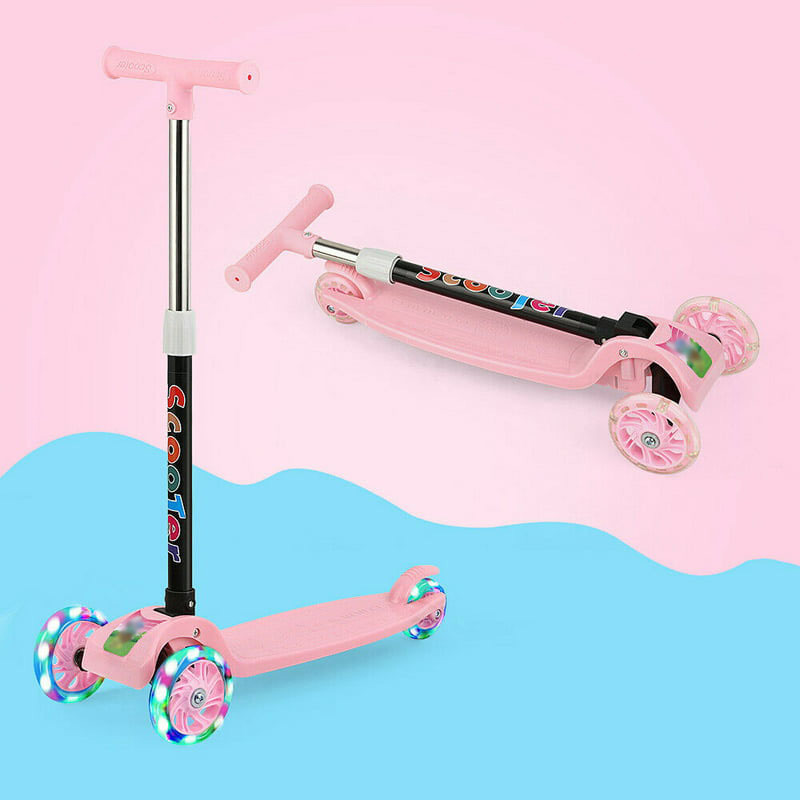
 Scoot&RideKids Child Kick Push Scooter 3 Wheels with LED Flashing Tilt Lean Boys Girls Scooter
- 4
$33.17 -
 Scoot&RideKids Scooter Child Kick Flashing LED Light Up 3 Wheel Push Adjustable Folding 3
- 0
$25.52 -
 Scoot&RideKids Scooter Child Kick Flashing LED Light Up 3 Wheel Push Adjustable Folding 2
- 0
$33.17 -
 Scoot&RideKids Scooter Teens Foldable Kick Push Scooter Adjustable Height Safe 2 Wheels
- 4
$49.99
Meet our partners and discover what powers their creativity!
When you register for a Lohas scooter, you will receive a 10% discount on your first order and can be notified of sales, new product launches and other offers in advance.