Replacing Kids' Razor Scooter Bearing Wheels A Comprehensive Guide
Scooters have become an essential part of childhood for many kids, offering hours of joy and exercise. However, like all toys, they can wear down over time, particularly the wheels and bearings of Razor scooters. If your child's scooter isn't rolling as smoothly as it used to, it might be time to replace the bearing wheels. This guide aims to walk you through the process of replacing bearing wheels on a kids' Razor scooter effectively and safely.
Understanding the Components
Before diving into the replacement process, it's essential to understand the components involved. The bearing wheels consist of the wheel itself and the bearings housed inside it. The bearings are crucial for allowing the wheels to rotate smoothly around the axle. Over time, dirt and debris can accumulate, causing the bearings to wear out, which can make the scooter difficult to ride.
Tools You Will Need
To replace the bearing wheels on a Razor scooter, you will need a few tools - A Phillips screwdriver - A flathead screwdriver or a prying tool - Replacement wheels and bearings (make sure they are compatible with your scooter model) - Some lubricant (optional)
Steps to Replace Bearing Wheels
1. Preparation Start by ensuring that you have a clean workspace. Place the scooter on a flat surface, preferably a hard floor, to avoid any accidents. Safety is paramount, so ensure that your child is supervised during this process.
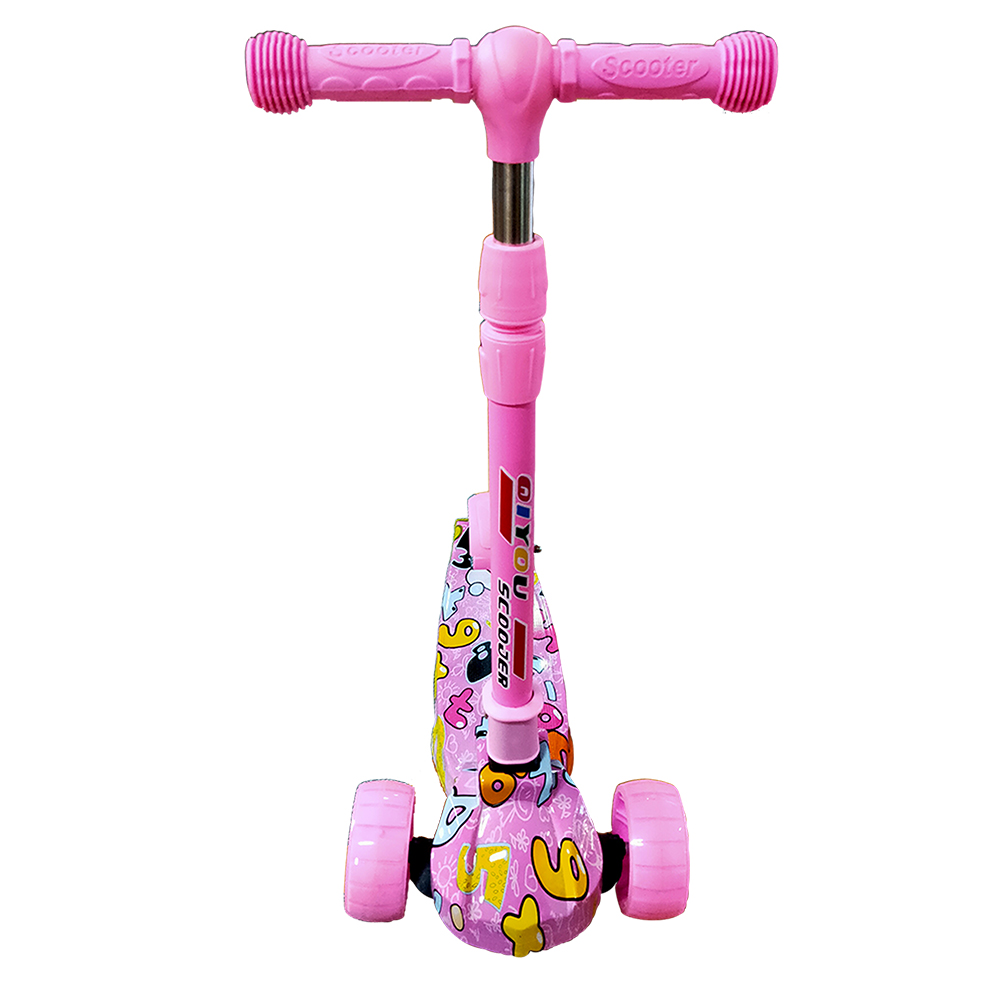
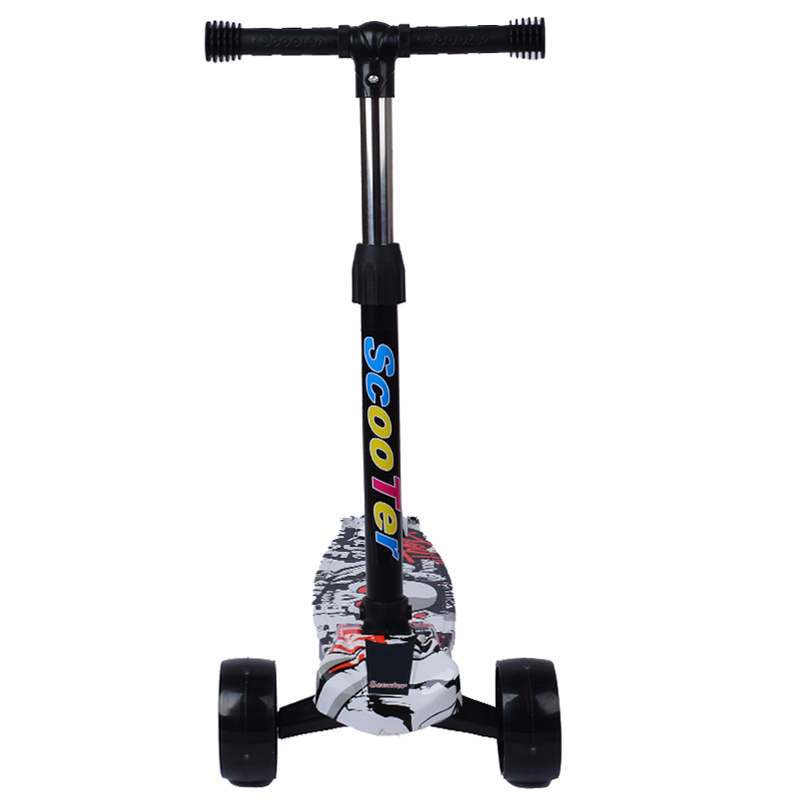
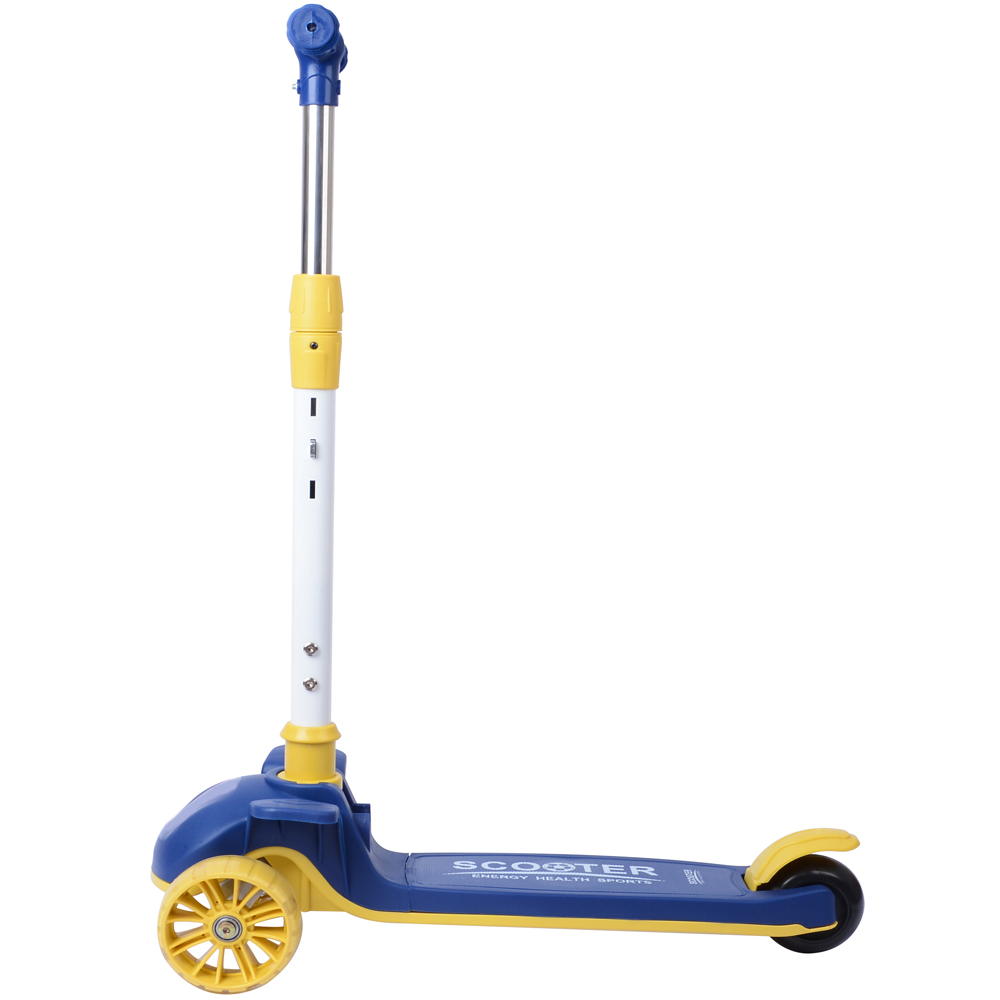
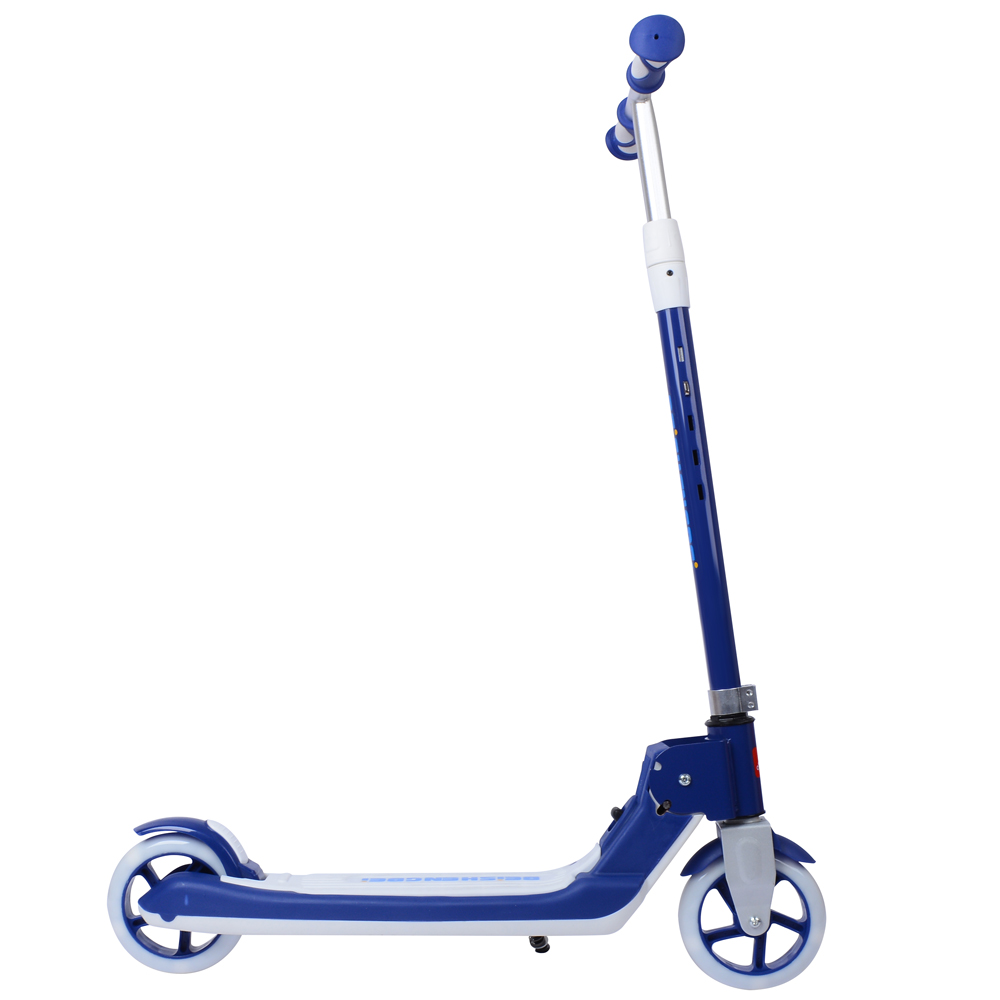
2. Remove the Old Wheels Using a Phillips screwdriver, locate the screws securing the wheels to the scooter. Carefully unscrew and remove these screws. If the wheels do not come off easily, use a flathead screwdriver to pry them off gently. Make sure to keep the screws in a safe place for later reassembly.
replacing kids razor scooter bearing wheels

3. Extract the Bearings Once the wheels are off, you will notice the bearings seated inside. These can typically be removed by hand, but if they are stuck, gently tap them out using a flathead screwdriver. Be cautious not to damage the wheel in this process.
4. Install New Bearings Take your new bearings and press them into the new wheels. They should fit snugly. Make sure they are seated properly; if they are not, the wheel may not rotate correctly. You can add a small amount of lubricant to the bearings to ensure a smoother ride.
5. Attach the New Wheels With the new bearings in place, it’s time to attach the wheels back onto the scooter. Position the wheels on the scooter's axle and align with the screw holes. Secure them in place using the screws you saved earlier. Tighten the screws, but be careful not to overtighten, as this could strip the threads or break the plastic.
6. Test the New Wheels Before your child jumps back on, take a moment to test the newly installed wheels. Spin them by hand to ensure they turn smoothly. If everything looks good, the scooter is ready for some fun!
Tips for Maintenance
To prolong the life of your scooter's wheels and bearings, regularly check for loose screws and signs of wear. Encourage your child to ride on smooth surfaces wherever possible, as rough terrain can accelerate wear and tear. Additionally, cleaning the wheels and bearings periodically can prevent dirt buildup, ensuring they function optimally.
Conclusion
Replacing the bearing wheels on your child’s Razor scooter is a straightforward process that can significantly enhance their riding experience. By following the steps outlined above, you can ensure that the scooter remains safe and enjoyable to use. Encourage your child to take care of their scooter, so they can continue to enjoy countless adventures on two wheels!
-

 Scoot&RideKids Child Kick Push Scooter 3 Wheels with LED Flashing Tilt Lean Boys Girls Scooter


- 4
$33.17 -

 Scoot&RideKids Scooter Child Kick Flashing LED Light Up 3 Wheel Push Adjustable Folding 3
- 0
$25.52 -

 Scoot&RideKids Scooter Child Kick Flashing LED Light Up 3 Wheel Push Adjustable Folding 2
- 0
$33.17 -

 Scoot&RideKids Scooter Teens Foldable Kick Push Scooter Adjustable Height Safe 2 Wheels


- 4
$49.99
Meet our partners and discover what powers their creativity!
When you register for a Lohas scooter, you will receive a 10% discount on your first order and can be notified of sales, new product launches and other offers in advance.


