How to Take Apart a Kids' Spider-Man Scooter
Scooters provide hours of fun for kids, and if you’re the proud owner of a Spider-Man scooter, you may find yourself needing to take it apart for maintenance, storage, or repairs. Whether it's a minor part that needs replacing or you need to transport the scooter for a trip, knowing how to disassemble it safely is essential. This guide will walk you through the steps to effectively take apart a kids’ Spider-Man scooter.
Tools You Will Need
Before you get started, gather the necessary tools - A Phillips screwdriver - A flat-head screwdriver - Allen wrench (if applicable) - Pliers - A clean, flat workspace
Step 1 Safety First
Ensure a safe working environment. Clear your workspace of any clutter, and consider laying down a soft mat to prevent the scooter parts from scratching. Make sure the area is well-lit so you can easily see the components.
Step 2 Inspect the Scooter
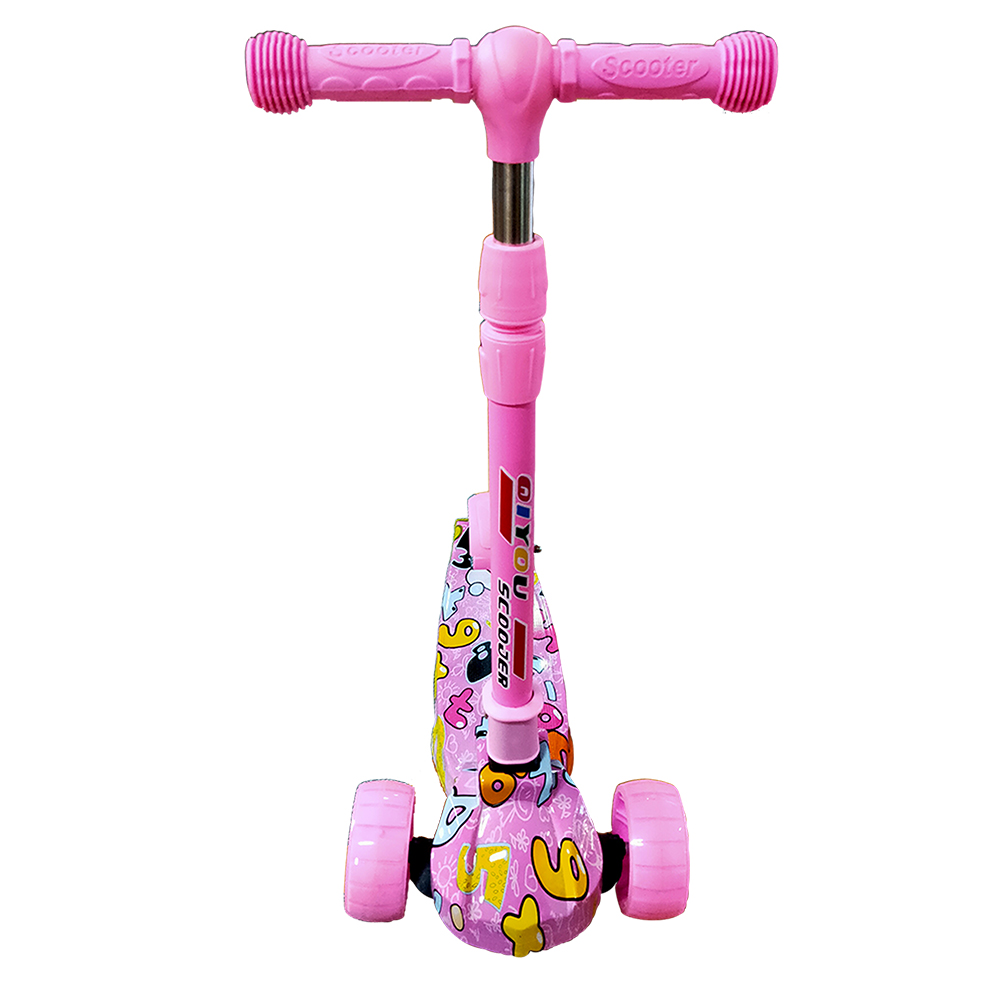
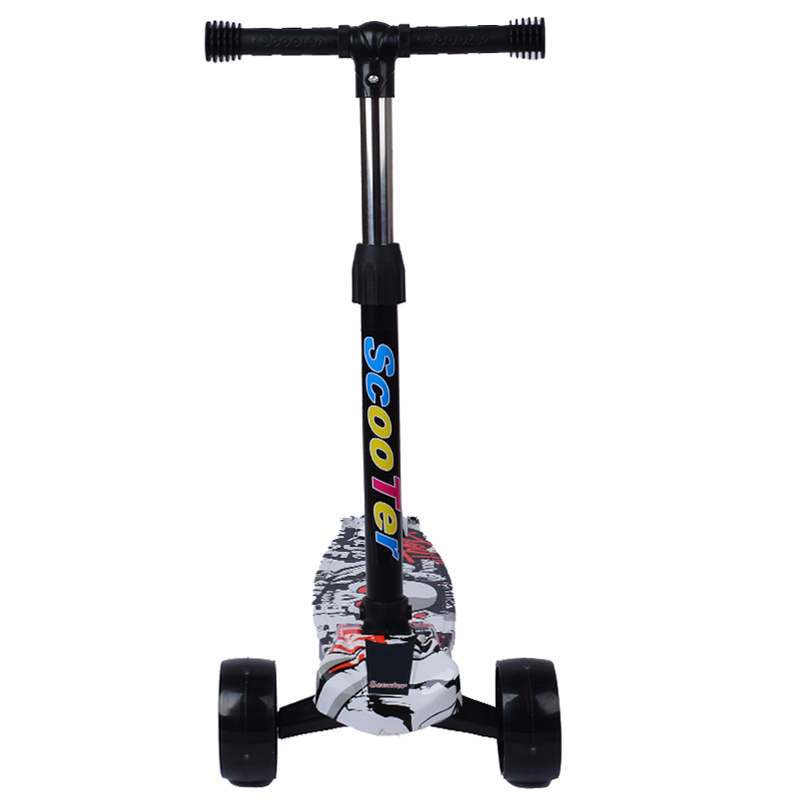
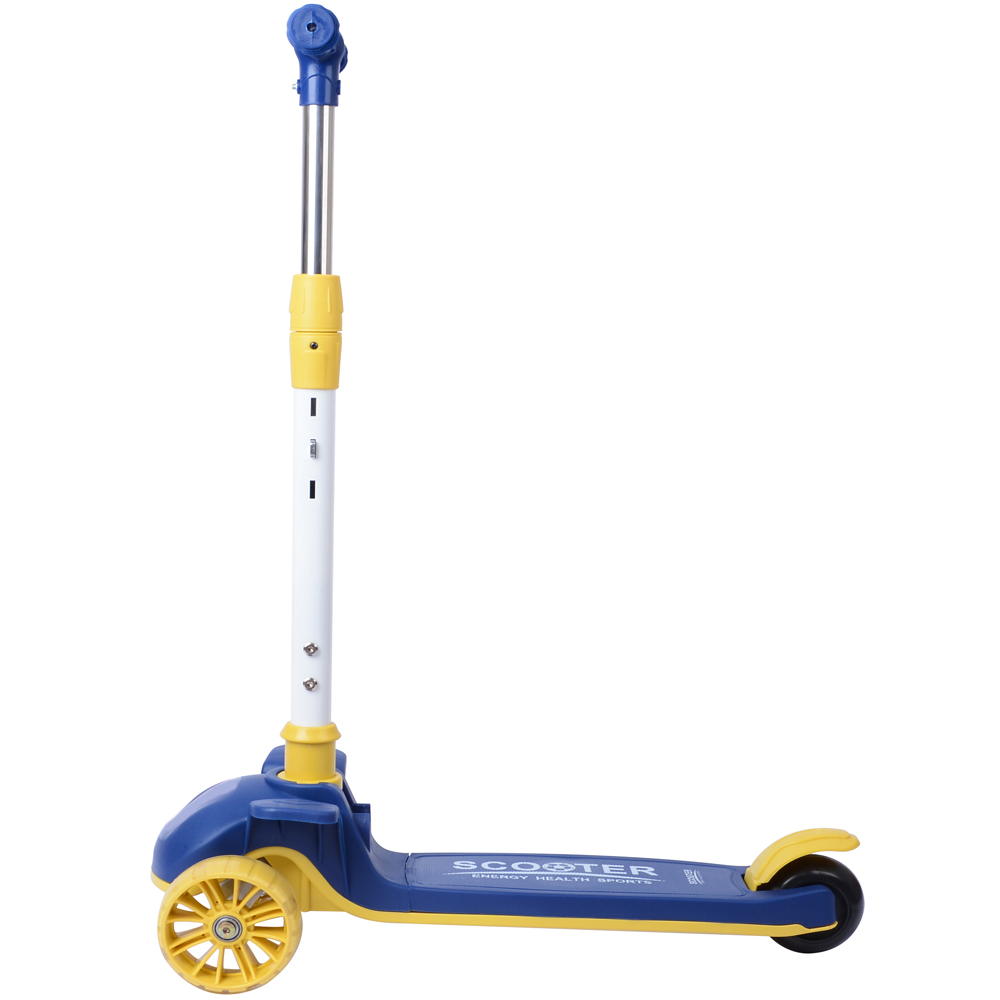
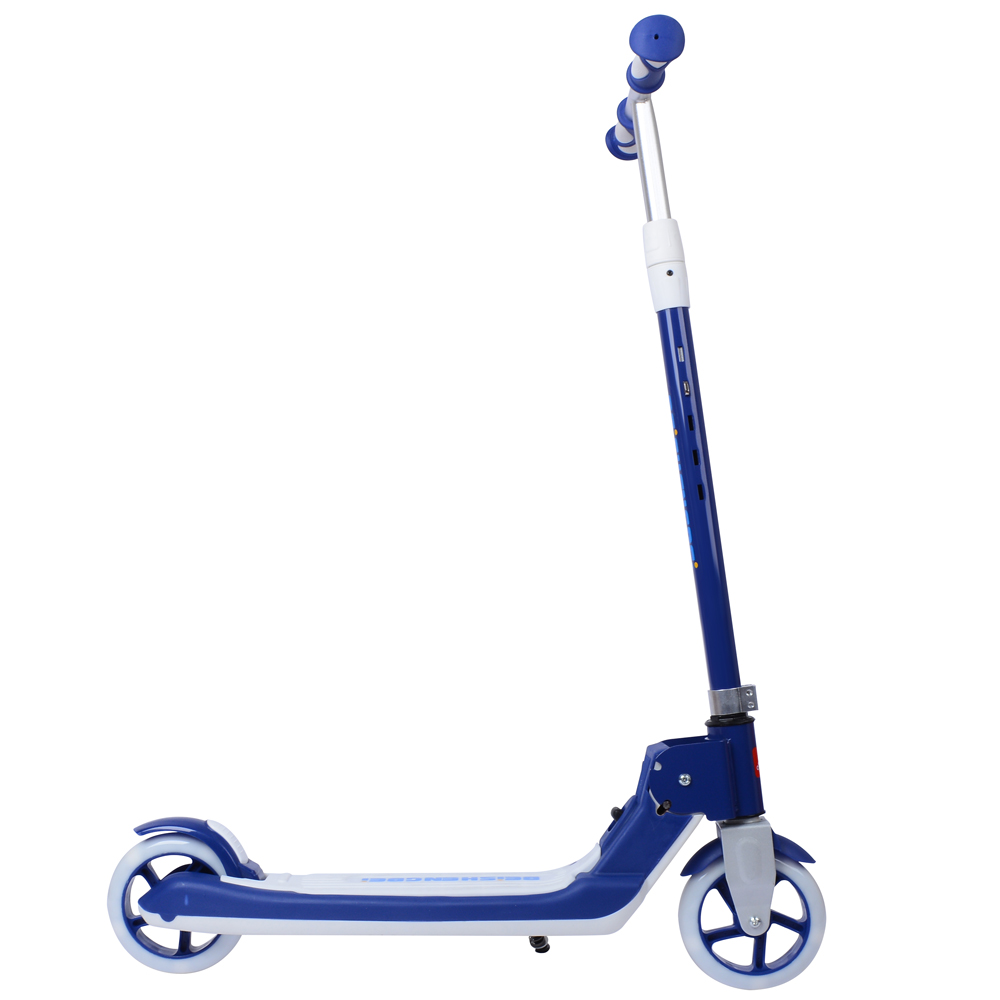
Start by examining the scooter to familiarize yourself with its parts. A typical kids’ scooter includes the following components - Deck - Handlebar - Wheels - Brake - Clamp - Rear fender
Understanding where each part connects will make disassembly easier
.Step 3 Remove the Handlebar
Begin by loosening the clamp that connects the handlebar to the deck. Use your Phillips screwdriver or Allen wrench to unscrew any bolts securing the handlebar. Once the bolts are removed, pull the handlebar upwards to detach it from the deck. Be sure to keep all screws and small parts together to avoid losing them.
Step 4 Detach the Wheels
how to take apart kids spiderman scooter

Next, focus on the wheels. Most scooters have a quick-release mechanism or bolts fastening the wheels. If your Spider-Man scooter has quick-release buttons, simply press these to detach the wheels. If they are secured with bolts, use your screwdriver or pliers to loosen and remove the nuts. Carefully take off each wheel and set them aside.
Step 5 Remove the Brake
The brake mechanism is typically attached to the wheel or the rear of the scooter. Look for screws or a spring holding it in place. Use your screwdriver to remove any screws or bolts, and gently lift the brake off. Make sure to note how the brake is positioned so you can reassemble it correctly later.
Step 6 Disassemble the Deck
The deck is the main body of the scooter. If your scooter has additional parts securely attached to the deck, such as footrests or plastic decorations, you may need to remove these first. Use your flat-head screwdriver for prying off any clips or fasteners. Once everything is clear, check for screws securing the deck to the main structure and remove them.
Step 7 Final Touches
Once you have carefully detached all the parts, lay them out on your workspace. This will help ensure you understand how everything fits together for reassembly. If you are taking the scooter apart for repair or cleaning, use this opportunity to inspect each component for wear or damage.
Step 8 Keep Everything Organized
To keep track of all screws and small parts, consider placing them in a small container or bag. Label them if necessary, so you can easily find them when it’s time to put everything back together.
Conclusion
Disassembling a kids’ Spider-Man scooter might seem daunting at first, but with the right tools and a methodical approach, it becomes a manageable task. Always remember to keep everything organized and take note of how parts fit together. Whether you’re looking to clean, repair, or store the scooter, these steps will help ensure the process is smooth and efficient, allowing your child to get back to riding their favorite Spider-Man scooter in no time. Happy scootering!
-

 Scoot&RideKids Child Kick Push Scooter 3 Wheels with LED Flashing Tilt Lean Boys Girls Scooter


- 4
$33.17 -

 Scoot&RideKids Scooter Child Kick Flashing LED Light Up 3 Wheel Push Adjustable Folding 3
- 0
$25.52 -

 Scoot&RideKids Scooter Child Kick Flashing LED Light Up 3 Wheel Push Adjustable Folding 2
- 0
$33.17 -

 Scoot&RideKids Scooter Teens Foldable Kick Push Scooter Adjustable Height Safe 2 Wheels


- 4
$49.99
Meet our partners and discover what powers their creativity!
When you register for a Lohas scooter, you will receive a 10% discount on your first order and can be notified of sales, new product launches and other offers in advance.


